One of the limitations of working with the web are the number of fonts that you can use with your website. This can be resolved by working with your CSS code, but how do you quickly resolve on a WordPress site? Luckily, one of the easiest ways to resolve this is to use a plugin. Google is very generous in letting you freely use a large library of fonts on their Google fonts site. These fonts can be accessed manually, but also by plugins which make it much easier since you don’t have to modify CSS or other back end files. This article will be using the Easy Google Fonts plugin
by Sunny Johal and Amit Kayasth (Titanium Themes). The plugin has been updated to work with the latest version of WordPress and is highly rated with great functionality for using the fonts. We will show how to quickly load and then use the plugin to incorporate Google Fonts into your WordPress site.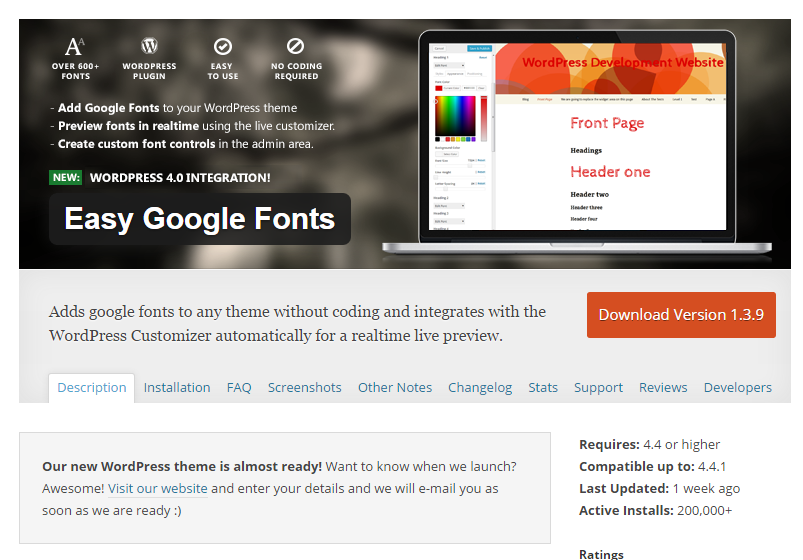
Loading the Plugin
- Login to the WordPress Dashboard
- Click on Plugins in the menu at left
- Click on Add New
 In the top right hand corner, type in “Easy Google Fonts” in the search bar. Make sure to select the plugin by Titanium Themes
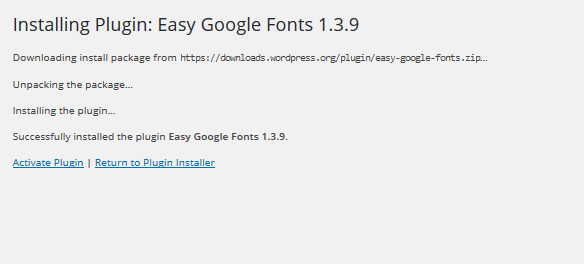 Click on the Install Now button, then click on Activate Plugin after it finishes installing
Using Easy Google Fonts
Using Google Fonts through the Easy Google Fonts plugin is very simple and is done through the Customizer of the WordPress Administrator. We will demonstrate how to use this in the customizer by demonstrating how it affects the fonts in your WordPress site. Note that site title is not necessarily directly affected by the plugin.
- Login to the WordPress Dashboard
- Click on Appearance, then click on Customize. Or, in the menu at top, click on Visit Site, then click on Customize in the top menu.
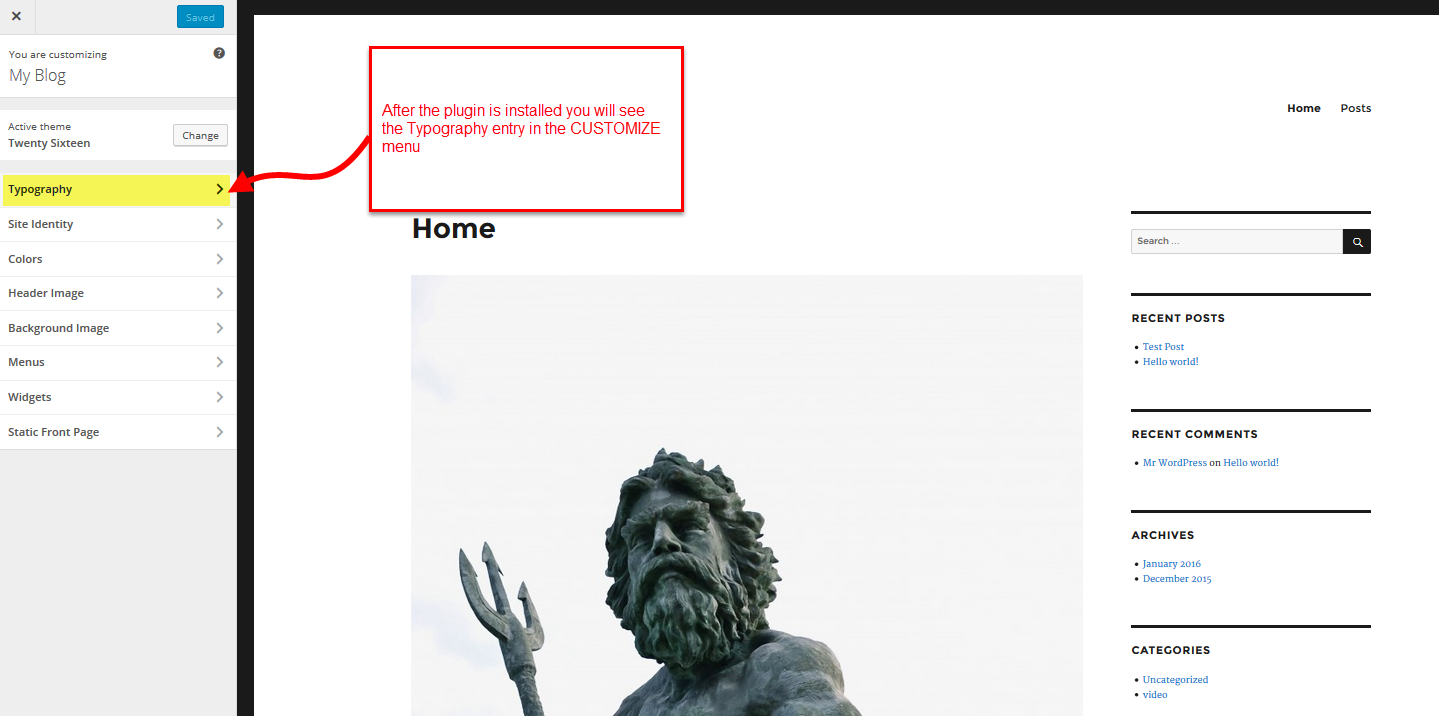 You will notice that there is a newly added menu item called Typography. Note that this option may differ from theme to theme. This tutorial uses the default Twenty-sixteen theme. Click on Typography.
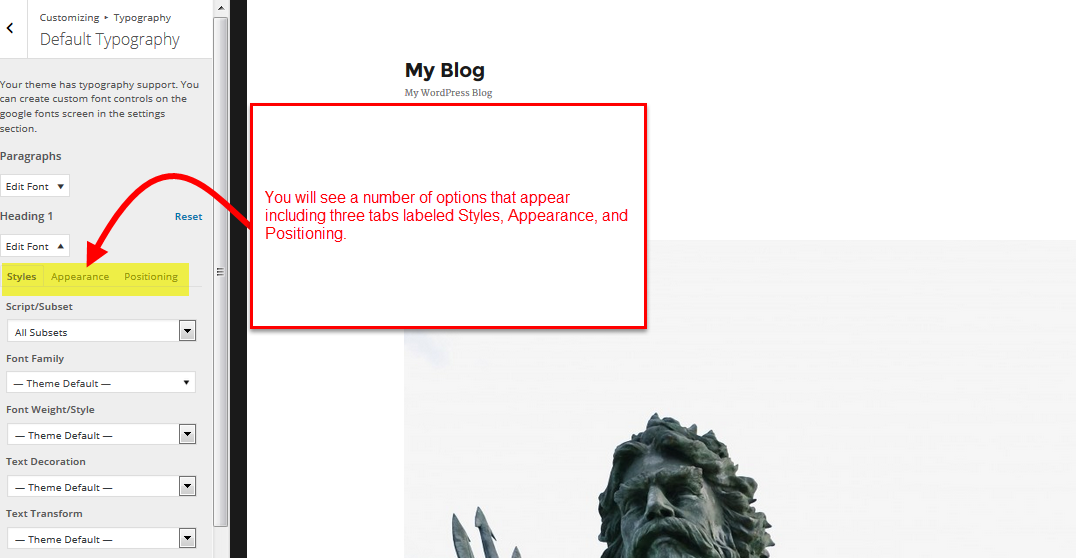 Like the style sheets in other websites, fonts can be controlled by the sections of the page. For example, in the Twenty-sixteen theme, these sections include: Paragraphs, Heading 1, Heading 2, Heading 3, Heading 4, Heading 5, and Heading 6. For this tutorial, we’re going to alter the “Heading 1” font so that we can see how it immediately impacts the site. Click on the drop-down arrow next to Edit font for Heading 1. Try changing several of the headers, then create a test post and look at the different headers to see the effect. Note that the Site title may be controlled by the theme so the change does not affect this font.
 You can also click on the Appearance tab or the Positioning tab to change the color and position of the text. If you have your WordPress site set to show Posts (instead of a static page), you can watch the changes to the fonts happen dynamically.
- Once you have finished making your font changes, click on SAVE and PUBLISH in order to save your changes.
That completes the tutorial on how to install and use the Easy Google Fonts plugin. It’s great for making quick font changes to your posts and pages. Keep in mind that some fonts on the site are not directly affected by the plugin. You can however make custom font controls that allow you make these changes, but you will need to be familiar with the CSS that controls the theme’s fonts. For information check out the developer’s video.
If you’re looking to optimize your website’s performance, check out our WordPress Hosting with Nginx caching specifically for WordPress performance.

Thank you! I have been using only Google Fonts in my projects for a long time. Sometimes I don’t find the fonts I need, and then a stylish font generator comes to the rescue https://exoticfonts.com/stylish-text-generator/. But be careful. Such fonts are not text and search engines do not read them. This is just for decoration
Thanks for sharing Brandon!
Hi, I can’t change the font for page Title – you say “Note that site title is not necessarily directly affected by the plugin.” – so how would I change this from default font, to the font I am using on all rest of page? Thanks
Hi Geoff, usually if you’re running into a situation like this, it’s because the WordPress Theme you are using has font style or size coded directly into the theme’s CSS. You can either try a few different WordPress themes to find one compatible with the plugin, or work on editing the theme files directly. Either way, please be sure to make backups beforehand. Hope that helps!
Hi, I am a newbie to WordPress and Easy Google Fonts. h1,h2,….. do they refer to various fonts for your headings? Does changing one h font change ALL your headings? OR does h1, h2… refer to your first heading or your second heading etc.? What about headings in your side bars? How are they changed?
Yes, the h1, h2 tags are referring to heading 1, heading 2, etc. The guide above will change the font for anything that is using those tags. This will differ based on your specific theme. You should be able to right-click your website and “view source” or “view page source” then click “Ctrl + f” to search the page for h1, h2, h3… tags to determine what is using them.
Thank you,
John-Paul
How to add more fonts to font family? I am only getting 10 font families on my site.
In my tests, I am seeing many font families available. Try testing with a default theme such as twenty seventeen. If your problems persist, I recommend following our WordPress Troubleshooting guide.
Thank you,
John-Paul
This was really helpful. I am a new user and the screenshots you added made the difference in understanding where the plug in resided in the theme.
Thanks so much!