In this article:
Looking for a better host for your WordPress site? Check out InMotion’s optimized WordPress Hosting.
One common marketing strategy in promoting your brand or cause is to build trust based on customer experiences. These described experiences are called testimonials. Jetpack has the option of organizing testimonials into a separate group like posts or portfolios. Additionally, even if the theme doesn’t specifically support the testimonial form, Jetpack allows a user to use shortcode to add testimonials into posts or pages. This tutorial will walk you through how to enable the testimonial feature, and how to display the testimonials in your WordPress site.
This tutorial requires that you have the Jetpack plugin installed in your WordPress site.
How to Activate Testimonials in the Jetpack Plugin

- Log in to the WordPress Administrator Dashboard.
- In the menu on the left side of the screen, click on Settings under Jetpack.
- When you get to the Jetpack settings screen, click on Writing in the top menu.
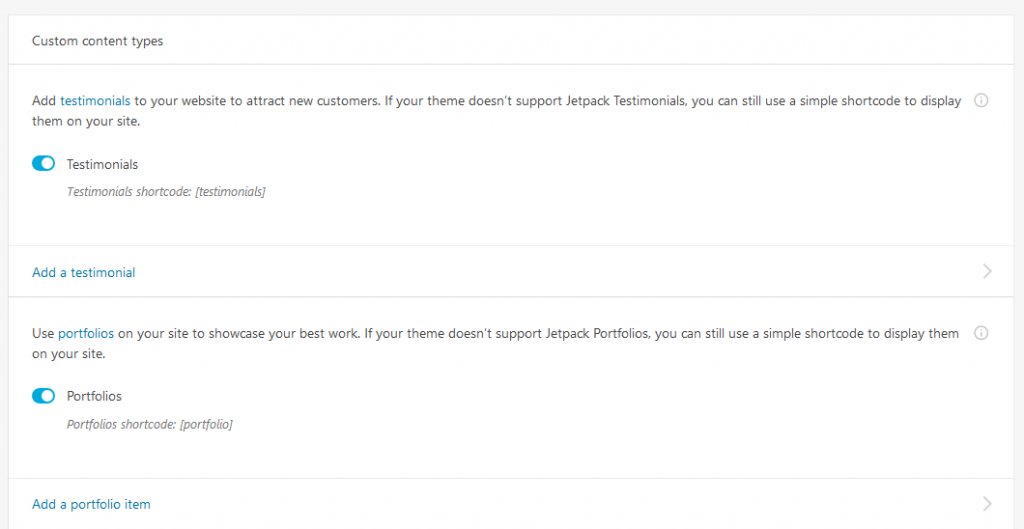
- Scroll down until you find Custom Content Types, then click on the slider to enable Testimonials.
When the option is enabled you will see “Testimonial” appear as a menu item. The next section will show you how to add a Testimonial item.
Looking for a better host for your WordPress site? Check out InMotion’s optimized WordPress Hosting.
How to Add a Testimonial
A Jetpack testimonial is simply a custom post type. Each testimonial can also include an excerpt that can be used to provide a shortened version of the testimonial. The steps below explain how to create a testimonial on your WordPress site.

- Click on Testimonial in the main WordPress menu located on the left side of the WordPress Administrator Dashboard.
- Click on Add new.
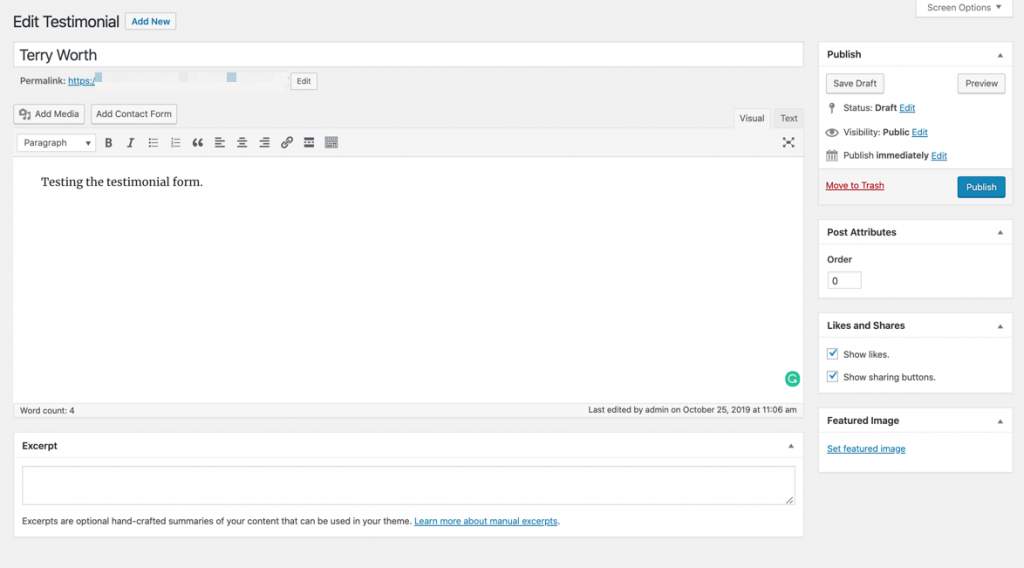
- Creating a Testimonial uses the same editor used when you create a post/page. Title your testimonial, then add content.
- Testimonials include the option to add an excerpt. Use the excerpt field to summarize or introduce the testimonial.
- When you have finished creating your testimonial, you can then publish it or save it as a draft.
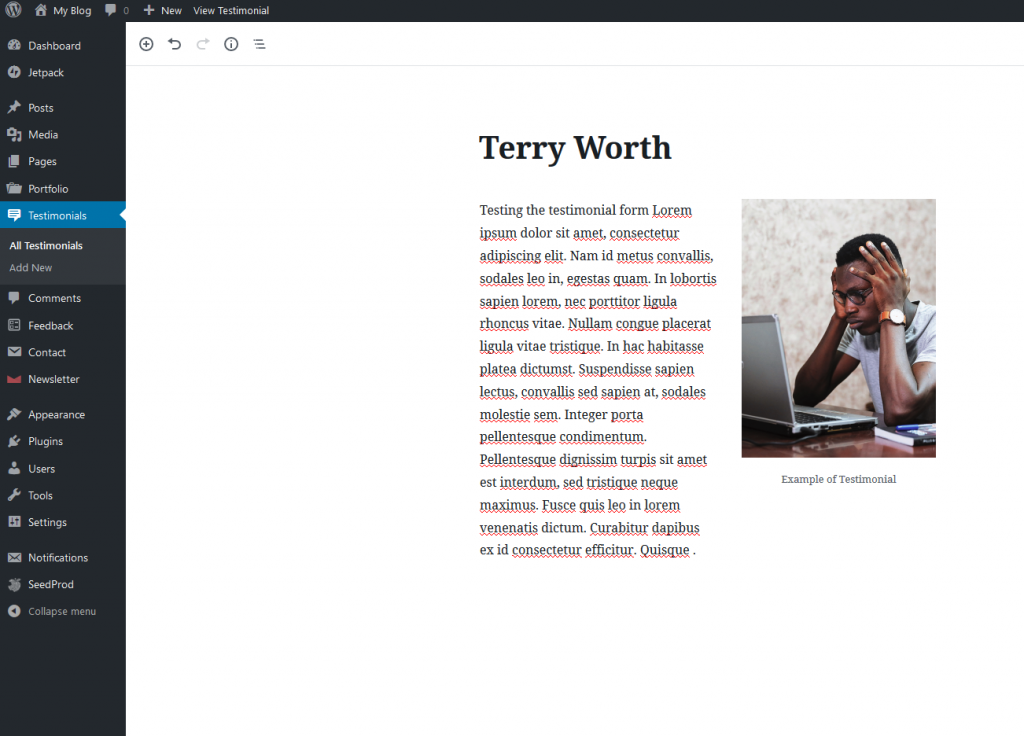
Once you finish creating your testimonial, you can add Testimonials to your website. Here’s a screenshot of a testimonial in WordPress:

Congratulations! You now know how to add Testimonials using Jetpack in WordPress. To learn more, please check out How to Add Portfolios Using Jetpack.
