The recent release of the ChatGPT bot by OpenAI has made the use of text-based artificial intelligence accessible to anyone. Simply enter a text prompt and it will automatically generate content or code based on your entries. This can be a strong addition to your workflow by helping you generate ideas or speed up the research and coding processes.
There are now WordPress ChatGPT plugins available that can directly connect using an API key. You then have the ability to interact with the AI tools and generate posts automatically from within your WordPress Dashboard.
In this guide, we’ll show you how to automatically generate WordPress posts with AI using the 3 most popular plugins. Then we’ll go over some tips and tricks so you can get the most out of this powerful artificial intelligence tool.
AI Plugins for WordPress
We will now go over how to add ChatGPT to WordPress so you can automatically generate WordPress Posts. Learn about the three most popular plugins so you can compare them and find the one that works best for you.
AI Engine
The AI Engine plugin includes a full suite of tools along with the ability to automatically generate posts using ChatGPT. It also has tools for improving website performance, cleaning databases, managing your media, creating galleries, adding contact forms, setting up Google Analytics, and more.
It is growing fast, considering it gained over 2 thousand active installations over the 2 weeks I was researching it. This plugin was easy to setup and begin using with a simple workflow and clean interface.
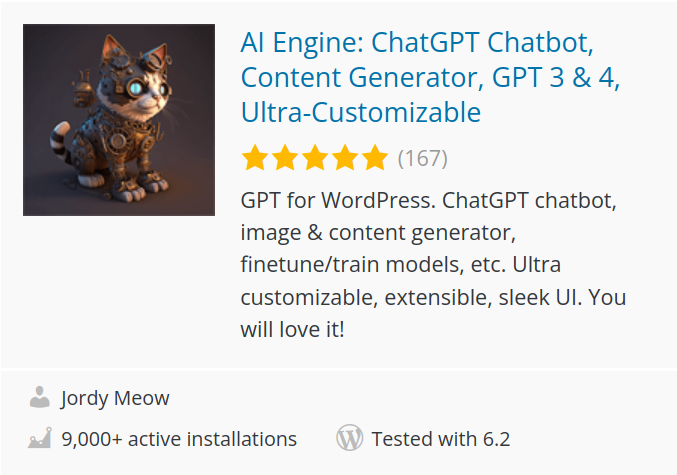
Setup AI Engine Plugin
The first steps are installing the plugin, adding your API key, and choosing your settings.
- Install and activate the AI Engine plugin by Jordy Meow.
- Click Meow Apps then AI Engine in the navigation menu.

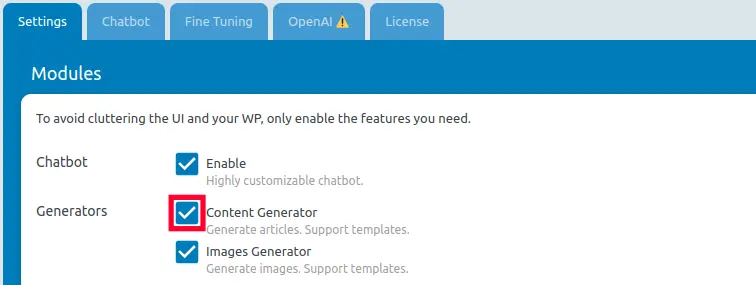
- You should already be on the Settings tab, Paste your OpenAI API key in the field on the right.

- Make sure the Content Generator option is checked, and you can also select your other preferred settings.

Generate a Post with AI Engine
After AI Engine is setup, you can begin generating posts automatically using ChatGPT. You can select if you want to create a single post (Single Generate) or many posts (Bulk Generate) at once by entering several topics. For this example, we are using the “Single Generate” option.

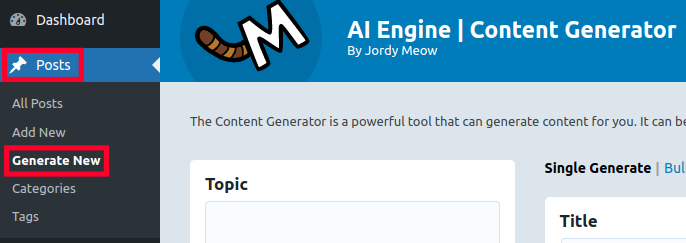
- Click Posts then Generate New in the main Dashboard menu.

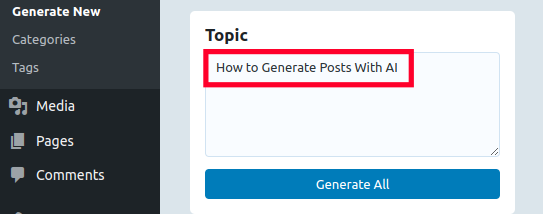
- Enter what you want the post to be about in the Topic section.

- Select your Language, Writing Style, and Writing Tone under Content Params.
- Click the Generate All button and it will begin generating a Title, Sections, Content, and an Excerpt.
- Review the content for accuracy and update it as needed.
- Click the Create Post button and it will be saved to your Posts section as a draft. It is finished when you see a Post Created message.

- Click Edit Post then it will open in the post editor.
- Click the Publish button to make it live.
Other AI Engine Features
As we mentioned previously, the AI Engine plugin includes many other tools. We will now go over the available options.
Chatbot
You can use this plugin to add a customizable chatbot to every page/post or embed a chatbot using a shortcode. This creates another layer of interactivity with users that visit your site and can increase engagement, improve customer service, and provide support.
Here an example of a basic chatbot that you can add, but keep in mind that they can be modified to suit your needs.

Performance Tools For Testing
If you are experiencing problems with your site speed or performance, there are tools included for testing the following items.
- Empty Request Time
- File Operation Time
- SQL Request Time
PHP Tools
When you want to know more information about your PHP environment or need to troubleshoot an issue, you can perform the following tasks.
- View PHP Info
- View PHP Error Logs
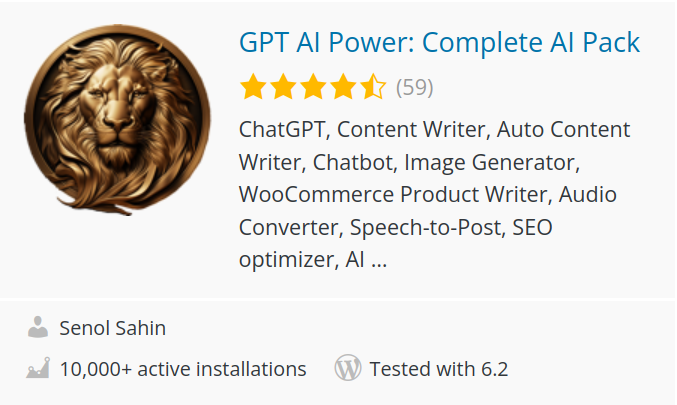
GPT AI Power
The GPT Power plugin makes it easy to create a post, but it also includes several other tools that make managing a WordPress site easier.
Use AI to create images or pre-made prompts to inspire your creativity or generate content based on products you are selling in WooCommerce. Add chatbots to posts or create forms for collecting information from visitors. There are also tools for converting audio files and training or customizing the AI for your site by importing your own datasets.
Setup GPT AI Power Plugin
Similar to the AI Engine plugin, setup is just a matter of entering your ChatGPT API key into the settings section. You can then select your preferred settings.
- Install and activate the GPT AI Power plugin by Senol Sahin. After activating you should be on the GPT AI Power→Settings page.
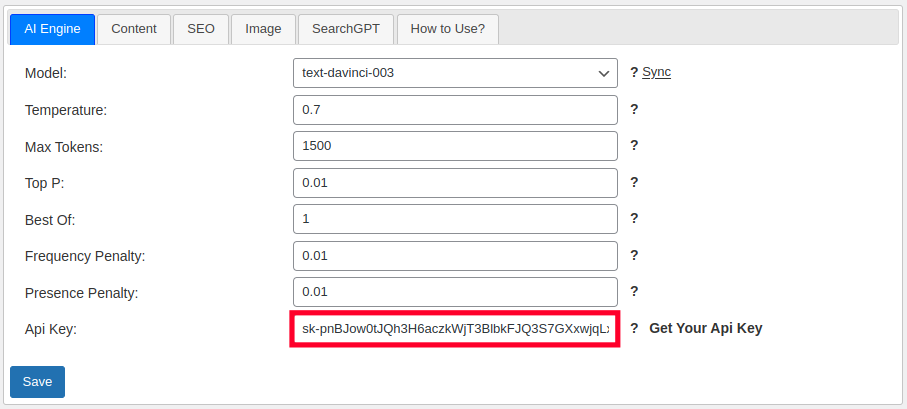
- Paste your ChatGPT API Key into the available field.

- Select your AI Engine settings. You can click the question mark for more detailed information about the options.
- Click the Save button and you should see a message stating “Records successfully updated!”
- Click through the different tabs to select your settings. Options are: Content and SEO. Some of the Image and SearchGPT options require additional API keys for their 3rd party services.
Generate a Post with GPT AI Power
Now that the plugin is connected to ChatGPT, you can begin automatically generating posts.
- Click Posts then Generate New Post in the WordPress Dashboard menu.

- Enter a title for the post.
- Select your Language, Style, and Tone with the menu on the right. You can also select options for Headings, Image, Additional Content, Links, and SEO. The Keywords option requires the “Pro” version of the plugin.
- Click the Generate button and it will begin creating the content.
- Click the Save Draft button.
- You can select the Post and click Publish to make it live on your website.
Other GPT AI Features
Along with the ability to automatically generate WordPress posts, the GPT AI plugin also includes the following tools.
ChatGPT
Add a customized chatbot (powered by ChatGPT) to your pages or posts using a shortcode or widget. Use this to engage with and attract visitors using another level of interaction and you can also save logs of the chats to gain knowledge of their experiences. Here is an example of a basic chatbot adding to a post using a shortcode.
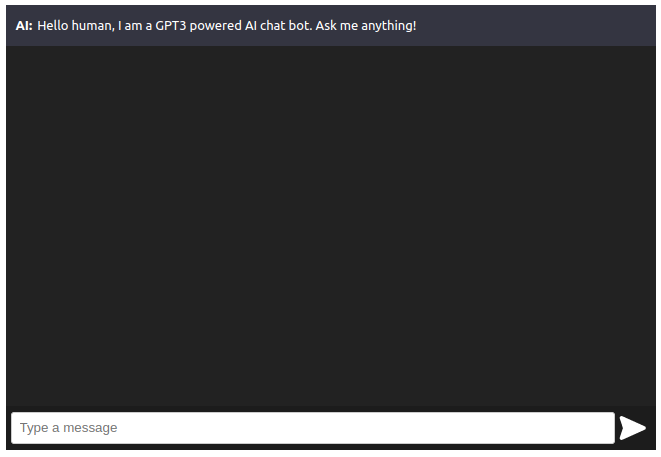
Image Generator
With this tool, you can enter prompts and it will then use AI to generate images based on what you enter. This is a good way to add original graphic content to your posts or create images that catch the attention of visitors. You can also customize them further by choosing from different artist styles, lighting, color, size, etc.

AI Forms
Use AI power to automatically create forms that you can then quickly embed on your site with a shortcode. Choose from a selection of templates to customize and design your content for your forms based on its specific purpose.
PromptBase
The Promptbase includes pre-built chat prompts for specific types of content and categories. Use this as inspiration to generate new content for specific purposes such as real estate, sales, SEO, social media, etc.

Playground
This is an area in your Dashboard for testing the ChatGPT response to different prompts without having to generate a post.
Embeddings Tool
Here you can connect to a third-party database (Pinecone) to store data and then enter specific answers to questions that visitors may ask the chatbot. This can help artificial intelligence understand the meaning of words better over time as the database grows.
AI Trainer
With this tool you can upload a dataset in .jsonl format to “fine-tune” the artificial intelligence’s knowledge to better suit your site. For example, you can enter a prompt and response value to automatically include specific information when a prompt is entered. This can assist in teaching the model to respond accurately to prompts.
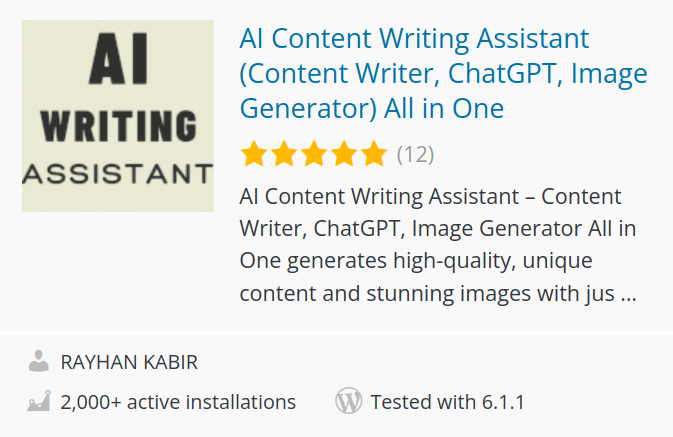
AI Content Writing Assistant
Unlike the other two plugins we covered, this one is primarily focused on using AI to generate posts. While it does include a ChatGPT playground and AI image generator, it does not include a full suite of tools for things such as chatbots, performance tools, AI trainers, or form generators.
This can be a good option if you are only looking for a simple plugin that is mainly used for WordPress post creation and you don’t need all the extra features.
Setup the AI Writing Assistant Plugin
Just like the other plugins, this can be setup by entering your ChatGPT API Key then selecting your settings.
- Install and activate the AI Content Writing Assistant plugin by Rayhan Kabir.
- Click the AI Writing Assistant link in your WordPress Dashboard if you are not already redirected there after activating.
- Paste your ChatGPT API Key into the API Key field.

- Select your settings such as Temperature, Max Tokens, Top Prediction, Best of, Frequency Penalty, and Presence Penalty. You can click the documentation link for a full explanation of these settings from the developer.
- Click the Save Settings button.
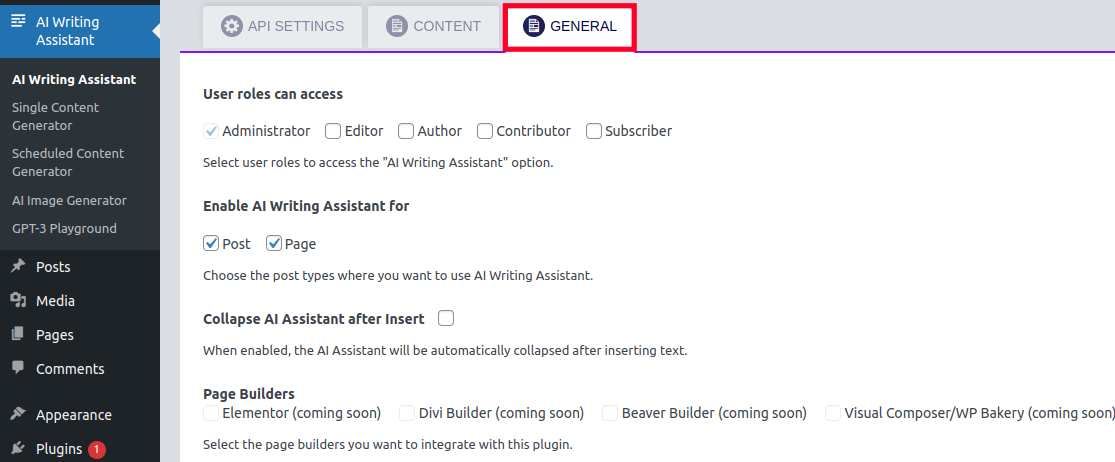
- Click the General tab to choose additional options such as which user roles can access the AI Writing Assistant, whether you want to enable it for posts or pages, and which page builders you want to integrate it with.

- Click the Save Settings button.
Generate a Post With AI Writing Assistant
We’ll now walk you through the process of automatically generating ChatGPT WordPress posts with the AI Writing Assistant plugin. For this guide, we are using the Single Content Generator, but there is also a Scheduled Content Generator option that you can use with a similar process.
- Click AI Writing Assistant then Single Content Generator in the WordPress Dashboard.
- Enter the topic that you want the content to be about in the AI/GPT-3 Prompt field.

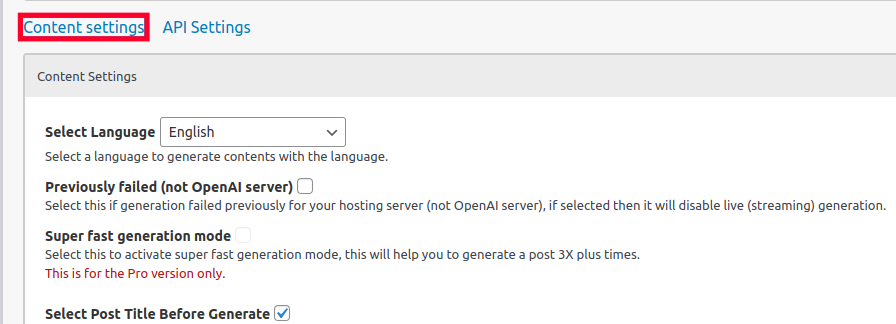
- Click the Content settings link to select your option for this specific post, such as: language, amount of titles, content length, keywords to include/exclude, writing style/tone, etc.

- Click the purple Generate button and it will automatically create possible titles based on your prompt.
- Select the title that best suits the goals or theme of your post and it will begin generating your content.
- Review the content to ensure it is meeting your goal then click the Insert button. The content will then be copied into the post fields below.
- Edit the text if necessary at this point, since it was not editable before.
- Click the Select Featured image button if you want to upload or choose one.
- Select the Post Type, Category, and Post Status.
- Finally, click the Publish button.
Tips and Tricks
Now that you know how to automatically generate WordPress posts from your Dashboard using ChatGPT by OpenAI, we’ll provide some tips and tricks to help you get the most out of this powerful tool.
Use Prompts That Target Your Goals
Start by identifying the goals of the posts that you want to create, such as teaching visitors how to accomplish something, generating sales leads, or driving traffic to your site. For example, if your goal is to generate sales leads, you could use prompts that include topics that are related to the items that you sell. You could even use ChatGPT to help come up with good titles based on the intent of the post, then use those titles to generate the rest of the content.
Use the Available Plugin Features
Each plugin is a little different and some include additional features, be sure to utilize these to save time and to help you produce great content. It can also save time and server usage by performing a task without having to install another 3rd party plugin
Review and Edit Content Before Publishing
While ChatGPT does a pretty good job of generating the content, you should absolutely still review it for accuracy and update it to ensure it is meeting the needs of your specific goal. This may include adding images, adjusting terminology, re-wording sections, adding more details, removing repetitive content, and making sure it flows with your website’s theme.
Other Things to take into consideration:
- Update the content for SEO
- Add links to related content on your site
- Add images
- Add a table of content
Monitor Search Engine Data and Update Content
Publishing great posts is just the beginning of the content creation process. You must also continue to curate the posts to best meet the needs or intentions of your visitors. For example, you could setup Google Analytics and use it to learn more about your visitors then adjust the posts to better target that demographic.
Another technique is to utilize Google Search Console to determine the specific queries people are using to find a post and then update the content to better match their search intent. This can go a long way to helping your target audience and driving more traffic to your website.
Congratulations, now you know how to Automatically Generate WordPress Posts With ChatGPT! Check out our WordPress section for many more tutorials to help you build a successful website.
For the most secure WordPress site, you need secure hosting. That’s why InMotion Hosting crafted WordPress Hosting with rigorous server-side security - so you can spend less time hardening your hosting and more time creating your website.


