In the last article, we covered what Notifybot does and how to install Notifybot in WordPress. Now, since you have installed the plugin you’re ready to set up the basic configurations for Notifybot to work. WordPress boasts a 5 minute install and Notifybot claims setup is much faster than that.

Login to your WordPress Dashboard, where you have installed Notifybot

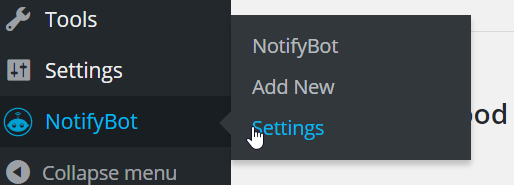
Scroll down the left-side menu pane and under the notifybot option, click Settings

Add your license key that you received when you purchased Notifybot

Once your key has been validated you will get a “deactivate” button displayed like below
Remote Email Settings
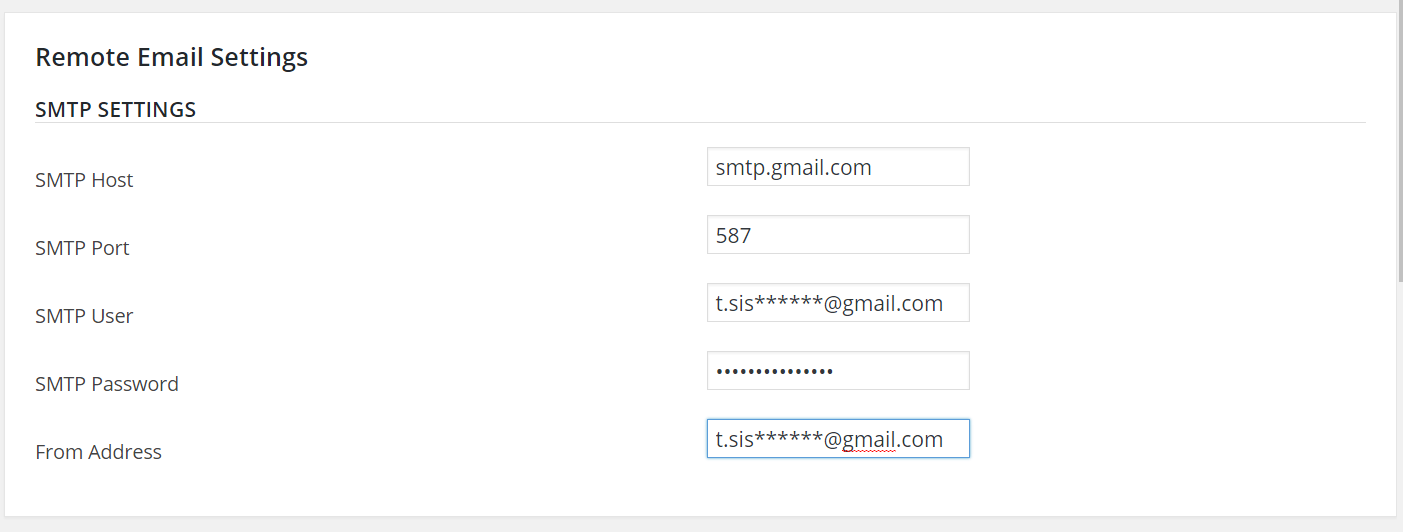
This section is so you can send emails from Notifybot from a remote email location. In most instances you will send emails directly from the web server that your WordPress website is running from. However, if you do not have email access on your web server you can use the remote settings to send notifications. Below is the step to use remote email settings. For this example we’ll use gmail as the remote email. Make sure you replace your SMTP user, password and from address with your own.
- Under Remote Email Settings Fill in the fields below:

Click “Save Settings”
| Field Name | Example |
| SMTP Host | smtp.gmail.com |
| SMTP Port | 587 |
| SMTP User | t.siss*****@gmail.com |
| SMTP Password | (Enter your password) |
| From Address | t.siss*****@gmail.com |
At this point you are ready to start creating your first notification.
