After installing PrestaShop 1.5, one of your next steps will certainly be to remove the default PrestaShop 1.5 “Your Logo Here” logo and insert your own logo onto your storefront. This gives your site the unique identity you want and deserve for your online marketplace. The default logo is located in the upper left hand corner of your PrestaShop 1.5 storefront. To set your own logo for your PrestaShop 1.5 store you will need to perform the following steps:
- Login into the PrestaShop 1.5 dashboard.
- In the top menu, hover over Preferences and then click Themes
- Under Appearance, click the browse button next to Header Logo. Browse your computer for your new PrestaShop 1.5 logo and after selecting it click the green Save button (to the right of the Theme Appearance heading).
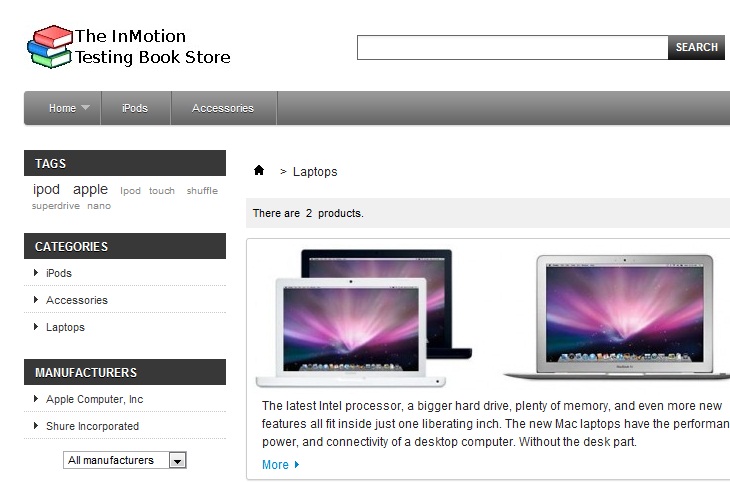
Before – default logo After – new logo 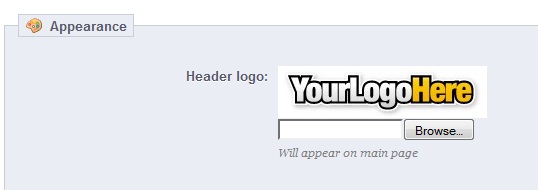

Underneath the Header logo, you’ll see several other options such as Mail logo, invoice logo, and favicon. The Header logo is the one that appears on the webpage itself. The mail and invoice logo sections appear on email and invoice headers, respectively. By selecting only a Header image, the mail and invoice logos will use that one by default. You can, however, select different ones for mail and invoice if you choose.
- After saving the change the screen will refresh and you should now see your selected logo on the page. If you only selected a Header image, then the Mail and Invoice logos will also display the same image. Viewing your PrestaShop 1.5 site will now display your own unique logo on the storefront!
Before After 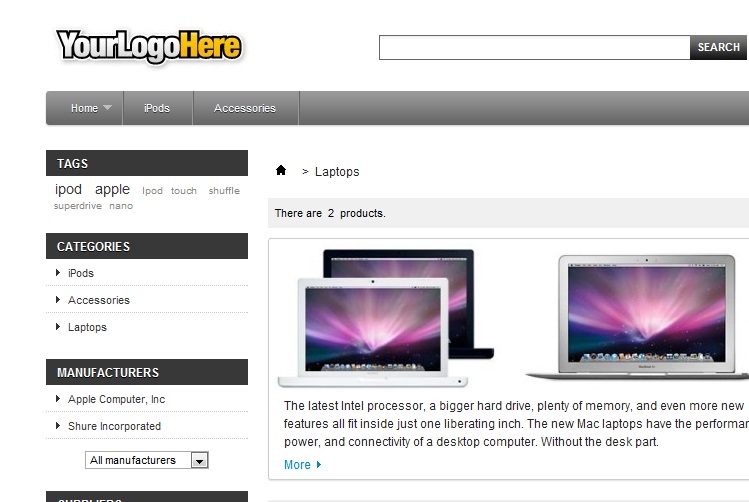
What about multiple logos for multiple sites?