My e-commerce websites have a terms of service document onlining the agreement between the customer and the website. This is more of a legal document, and dictates rights and responsibilities of between the website owner and the website customers. For example, if you go to the InMotion Hosting website , you’ll see a Terms of Service link towards the bottom of the page.
The Terms of Service you specify will be shown to customers on the order confirmation page after they click Checkout.
To setup your terms of service:
- Log into your Premium Builder and access “step 4 – Design” tab at the top of the page.
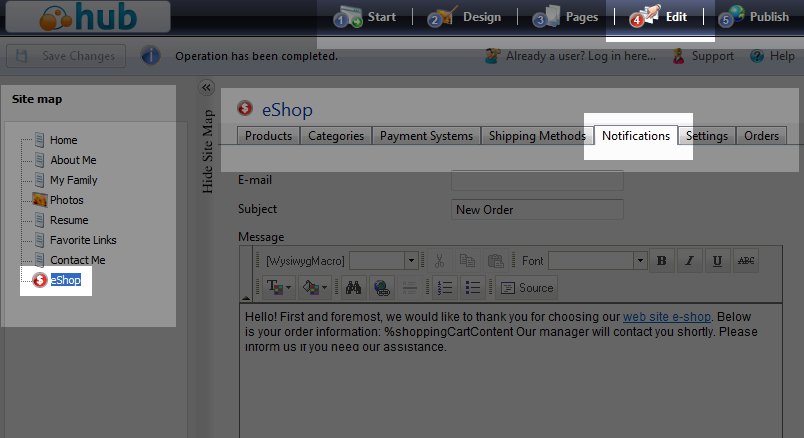
- Select your eShop within your “Site map” on the left side menu pane and then click the Notifications tab.
- Locate the “Terms of Service” Header.
Underneath the “Terms of Service“, there are several fields you can fill out.
Caption
The “Caption” field is the heading that will show above your terms of service. It will be in bold text, larger than your actual terms of service.
Text
The “Text” textarea is your actual terms of service.
Acceptance check box label
You have the option to force users to check a box that indicates they have read the terms of service. To do so, enter in a description here, such as (I have read and agree to the Terms of Service listed above).
If you leave this field empty, customers will not be forced to read your terms of service before they complete the purchase.
Please check the next article on Changing the confirmation email in Premium Website Builder. If you missed our previous article, please see the Configuring Shipping Methods in eShop tutorial. For more information on this course please visit Creating an Online Store – eShop