One of the most frequent questions we see when working with the builder is about whether the title or subtitle fonts in the header area can be changed. The answer is both Yes and No. No, it cannot be changed from within the builder itself as it is hard coded as part of your selected theme. Yes, it can be changed after you publish the site up to the server. This article will show you a way to alter the title font using Google’s list of free web fonts.
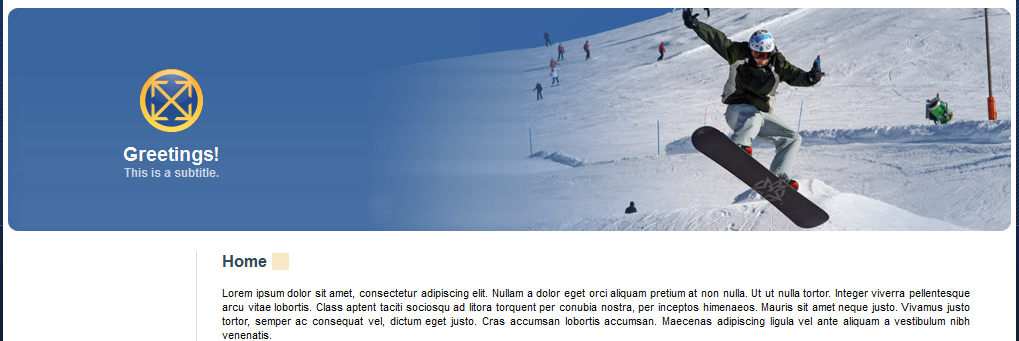
The area we will be working with in this tutorial is the subtitle area of your template. This is text that is most commonly found under the site title. Our example use the title ‘Greetings!‘ and the subtitle states ‘This is a subtitle‘. That smaller subtitle will be the one we will alter with the fonts.
Getting the files ready
- Since you will be working with your live builder site, you must first have created and published the site to your hosting account.
- While it is a good idea to create a backup of your website, as we will be modifying some files, the builder site can always be republished to its last saved state which will overwrite any changes you made. Still, if you wish to make yet another backup, feel free. There is no such thing as being too safe.
- Now you will need to log into the cPanel dashboard.
- From the main cPanel area, use the File Manager tool to access the area where your builder site files are published. If you are using the builder for your main domain, you will want to be in the public_html folder.
- You will be editing two different files in this tutorial. Locate the index.php file in the root folder of your builder and the styles.css file, which is located in the styles folder. Open each file for editing.
Getting your desired Google font code
- Now that we have prepared the files for editing, open a separate browser window or tab and visit the Google Web Fonts. page. There are many fonts listed here, scroll through the page and choose the Add to collection button for any that you want to keep.
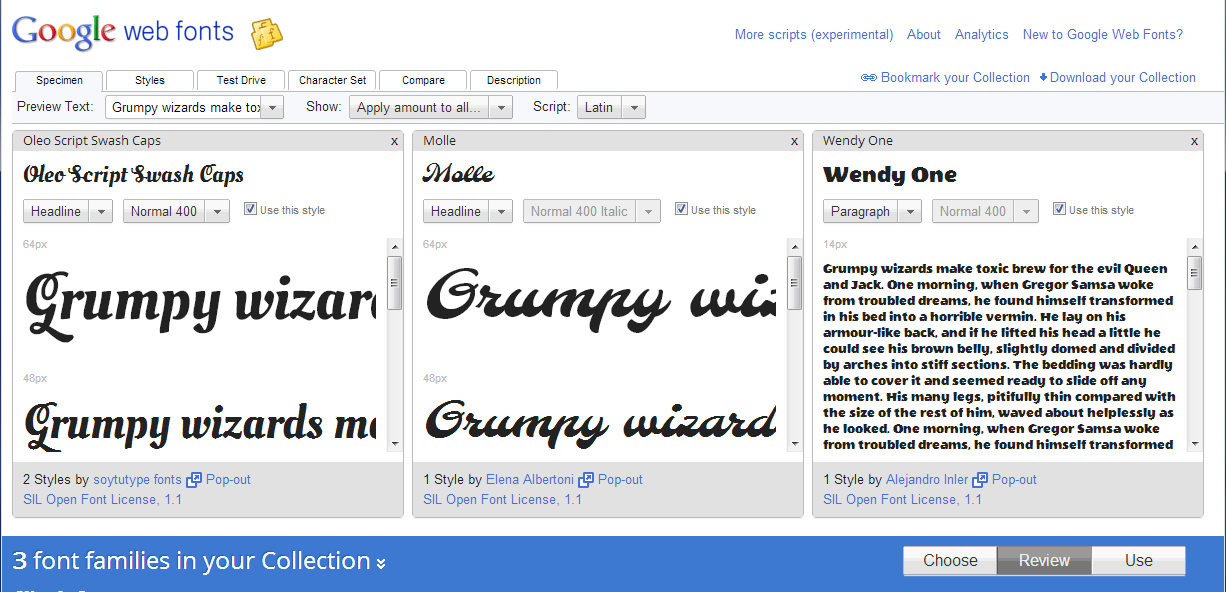
After selecting your desired fonts click on Review button to see the selected fonts side by side. You can see them in different sizes so you can understand how it may look on your site.
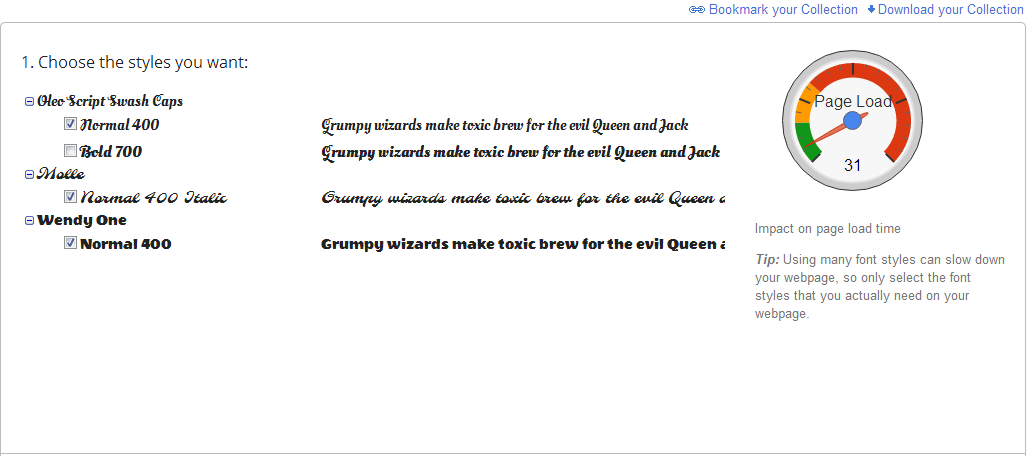
Once you are happy with your selection, click on Use button. This will bring you to the next phase, which has a number of steps. Step One is entitled Choose the styles you want. From your list of fonts, select the ones you want to include in the code that will be generated. As adding fonts can impact the load time of your site, there is a neat little gauge next to the list that shows how the fonts will increase load time. Obviously, selecting more options adds to the impact.

Next, look to Step Two, named Choose the character sets you want. This automatically includes the Latin set. If you need to use an extended character set, then you will be able to select it, if it is available for your fonts. Select the checkbox if you wish to add an available set.
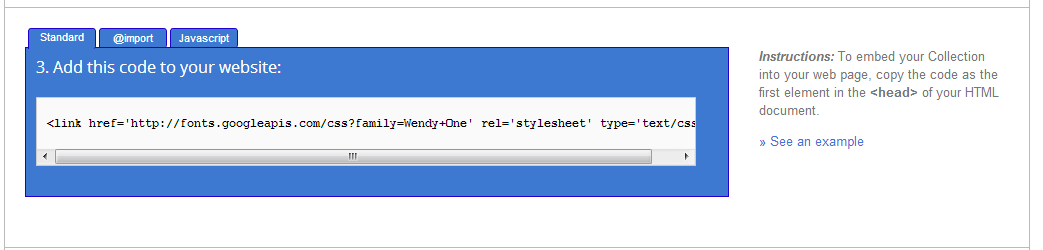
Now, on to Step Three, where you will obtain the code to add to your website. There are three tabs on this step Standard, @import, and Javascript.These are for different code formats, however, we will go with the standard. Highlight the code in the box and copy it to your clipboard using ctrl+c.
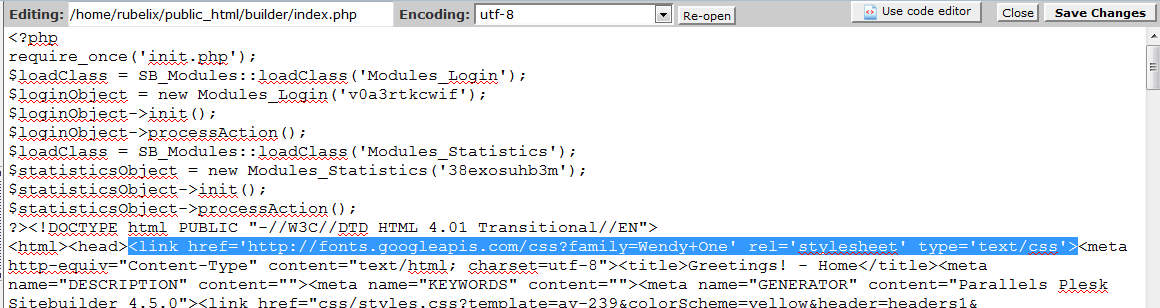
Remember the code editor screen you have open for the index.php file? Locate that screen and search for the <head> tag. Paste the code immediately after that tag, no spaces necessary. A quick example is shown below:
<html><head><link href=’https://fonts.googleapis.com/css?family=Wendy+One’ rel=’stylesheet’ type=’text/css’>Once pasted, save the changes by clicking the Save Changes button from the upper right corner.
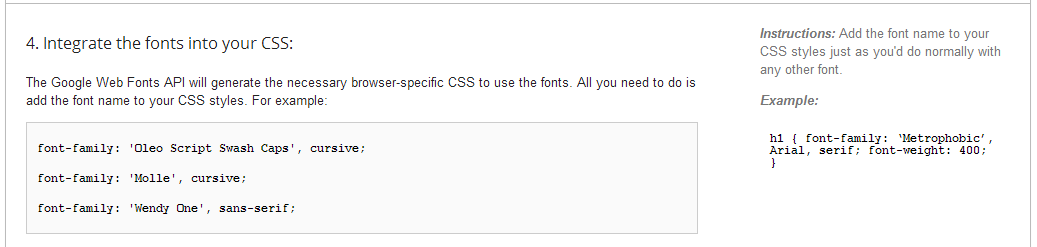
After pasting the code in the index.php file, go back to the Google web fonts page and go to Step Four, entitled Integrate the fonts into your CSS. Copy the code displayed in the step, again with ctrl+c.

Find the screen tab with the code editor for your styles.css file. Locate the line of code that begins with the .slogan identifier. Paste the copied code at the end of the line, but before the } character. There is an example below to demonstrate. Note that you may need to increase the font-size: attribute. We increased the example from 9pt to 14pt.
.slogan { font-weight: bold; font-size: 14pt;
font-family: Arial; color: #CDD5EA;
font-family: ‘Wendy One’, sans-serif;}As with the index.php file, save the changes by clicking the Save Changes button from the upper right corner.
Note: If you wish to edit the styles.css file for the title itself, perform the same action for the .company identifier.


Your new font should now appear on your website. Visit to see the results. Below is our test page showing a before and after comparison.
| Before | After |
|---|---|
 |  |