In this article we’ll go over how to finish your phpList setup and configuration, after you’ve already completed a manual phpList installation.
If you haven’t already installed phpList, and are a customer of InMotion Hosting, you might want to use the easier installing phpList with Softaculous guide that we have. At the end of this article you’ll be directed to that article as well, since the 4 steps we talk about in this article will bring your manual installation to the same stage as one done by Softaculous.
We’ll cover initialising the database, changing the default phpList admin password, disabling test mode, and finally changing the page root of our phpList installation.
Login to phpList admin dashboard
- Access your phpList admin dashboard from your web-browser, for our example this would be:
https://PrimaryDomain.com/list/admin/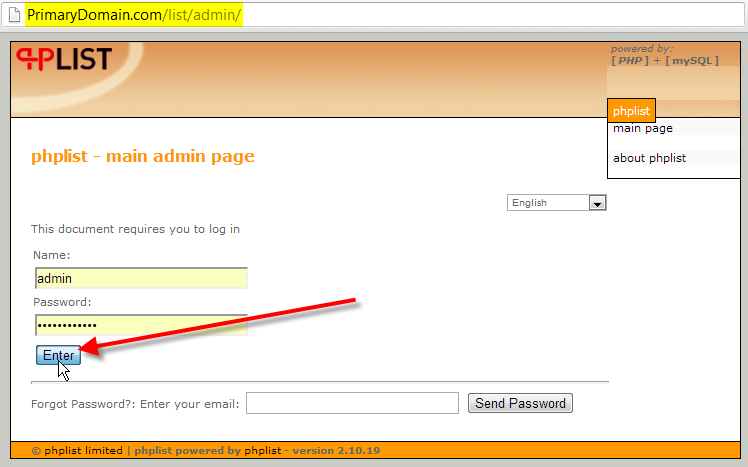
- Because this is your first time accessing the admin page, it should let you right in. If you do get prompted for admin credentials at any point, here are the defaults phpList sets up:Username: adminPassword: phplist

Initialise phpList database
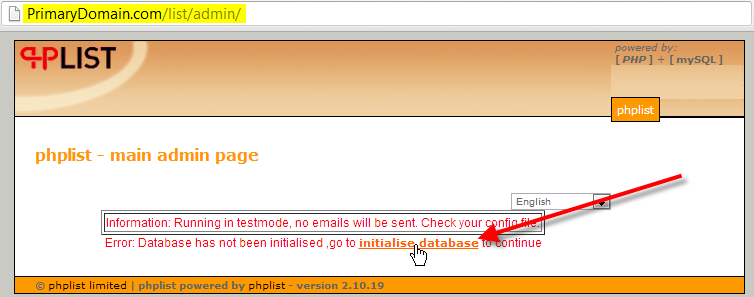
You need to create all of the various database tables that phpList will use to store its data. This is accomplished by initialising the database from the admin dashboard.
- Click on the initialise database link.
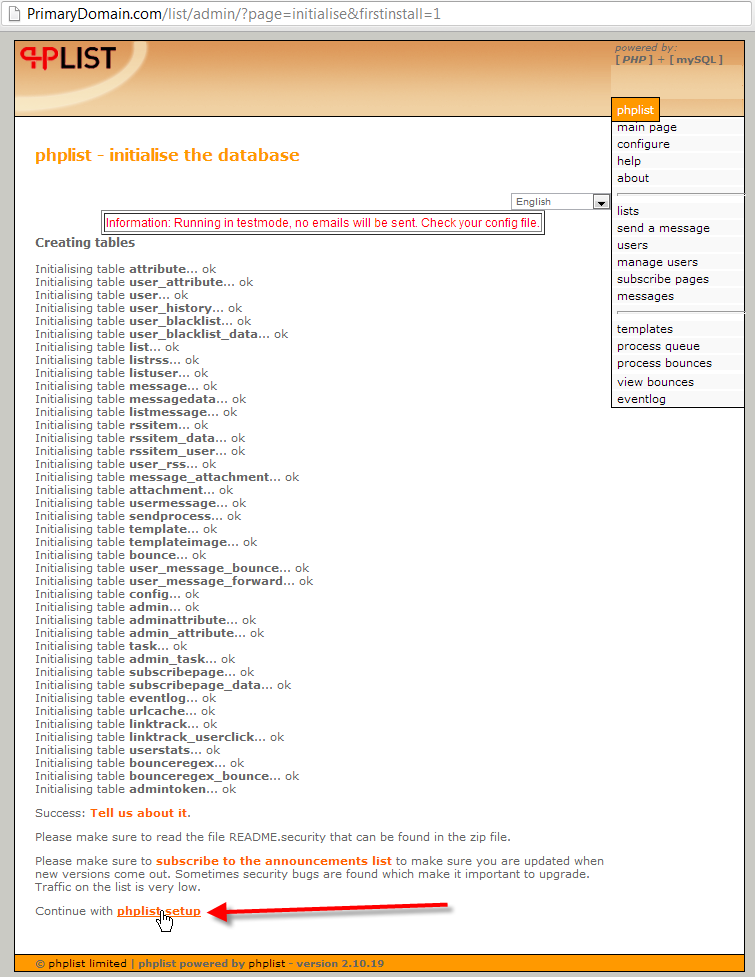
- You should see all of the database tables getting initialised. Once complete click on phpList setup at the bottom of the page to continue with the setup of the phpList software.


Change admin password
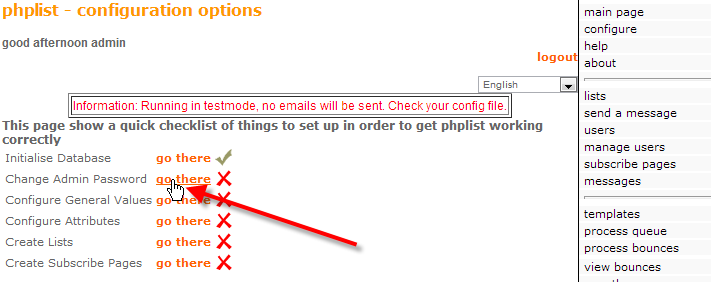
You’ll want to change the default phpList admin password to ensure your installation is secure. For more information on how to choose a secure password please read our guide on an introduction to password security.
- Beside Change Admin Password, click on go there.
- Replace the default Password of phplist, with your own password, then click on Save Changes

Take phpList out of test mode
You should notice there has been an informational notice since we logged into the phpList admin dashboard with the following text:
Running in testmode, no emails will be sent. Check your config file.
Follow the steps below to disable test mode in phpList now that you have your new admin password set.
- Login to your cPanel.
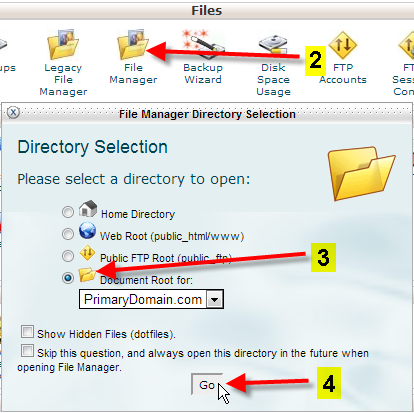
- Under the Files section, click on File Manager.
- Select the Document Root for: option, and choose your domain from the drop-down.
- Then click Go.
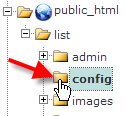
- Navigate to the /public_html/list/config directory from the left-hand pane.
- Now right-click on the config.php file, then click on Edit
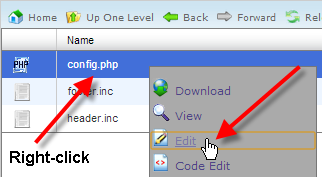
- You might have a text editor encoding dialog box pop-up, you can simply click on Edit.
- You should be able to hit Ctrl-F in your web-browser to launch a find on the current page. In your web-browser’s find box type in the following:
define ("TESTThat should move the text editor to the section that text is encountered at, and highlight it for you.You’ll want to change that line of code so that instead of reading:
define ("TEST",1);It should read:
define ("TEST",0); - Now again using Ctrl-F in your web-browser look for the following entries:
$pageroot = '/lists';
 $adminpages = '/lists/admin';
Make sure to replace them with just /list, taking off the s
$pageroot = '/list';
 $adminpages = '/list/admin';
Finally click on Save Changes up at the top-right.


Update page root of install
While we still have the config.php file open, we’ll also want to update our page root of our phpList install. This is because we changed the default directory name from /lists to just /list when we were manually installing it.
Complete your phpList setup
At this point you should now have successfully brought your manual installation of phpList, up to the same level that an automated installation via Softaculous would complete for you.
To finish configuring your phpList installation, please continue on to our article on completing phpList setup after Softaculous install, picking up from the Configure general system values section.