In some cases, you may find there is a need to manually install the core files for a Drupal website. The steps that we provide in this tutorial will show you how to download the core files and then create a working Drupal website.
Discover the ultimate in Drupal Web Hosting. Elevate your website’s performance, scalability, and speed for an exceptional user experience.
Download the Latest Drupal Core Files
The best place to get the latest genuine Drupal installation files is from the Drupal.org site itself. Follow the directions below to get the core files so that you can perform the manual installation.
- Go to the https://drupal.org site using your favorite internet browser.
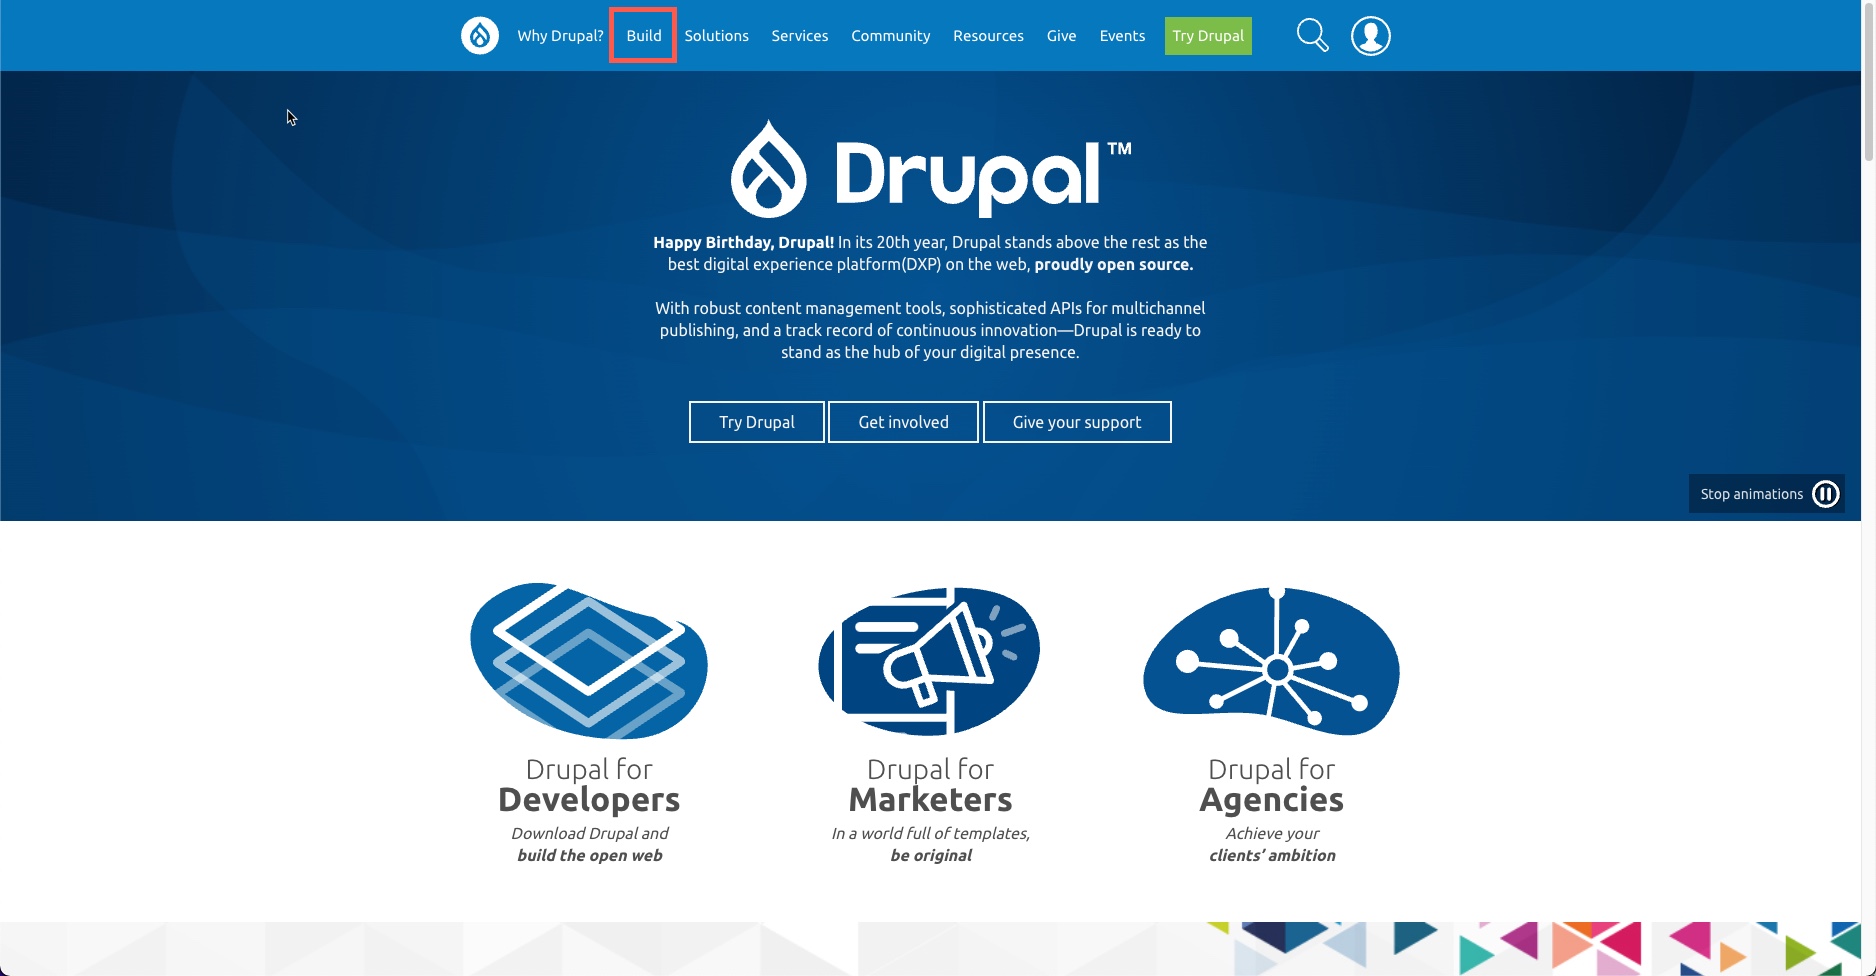
- Click on Build, then select Download and Extend.
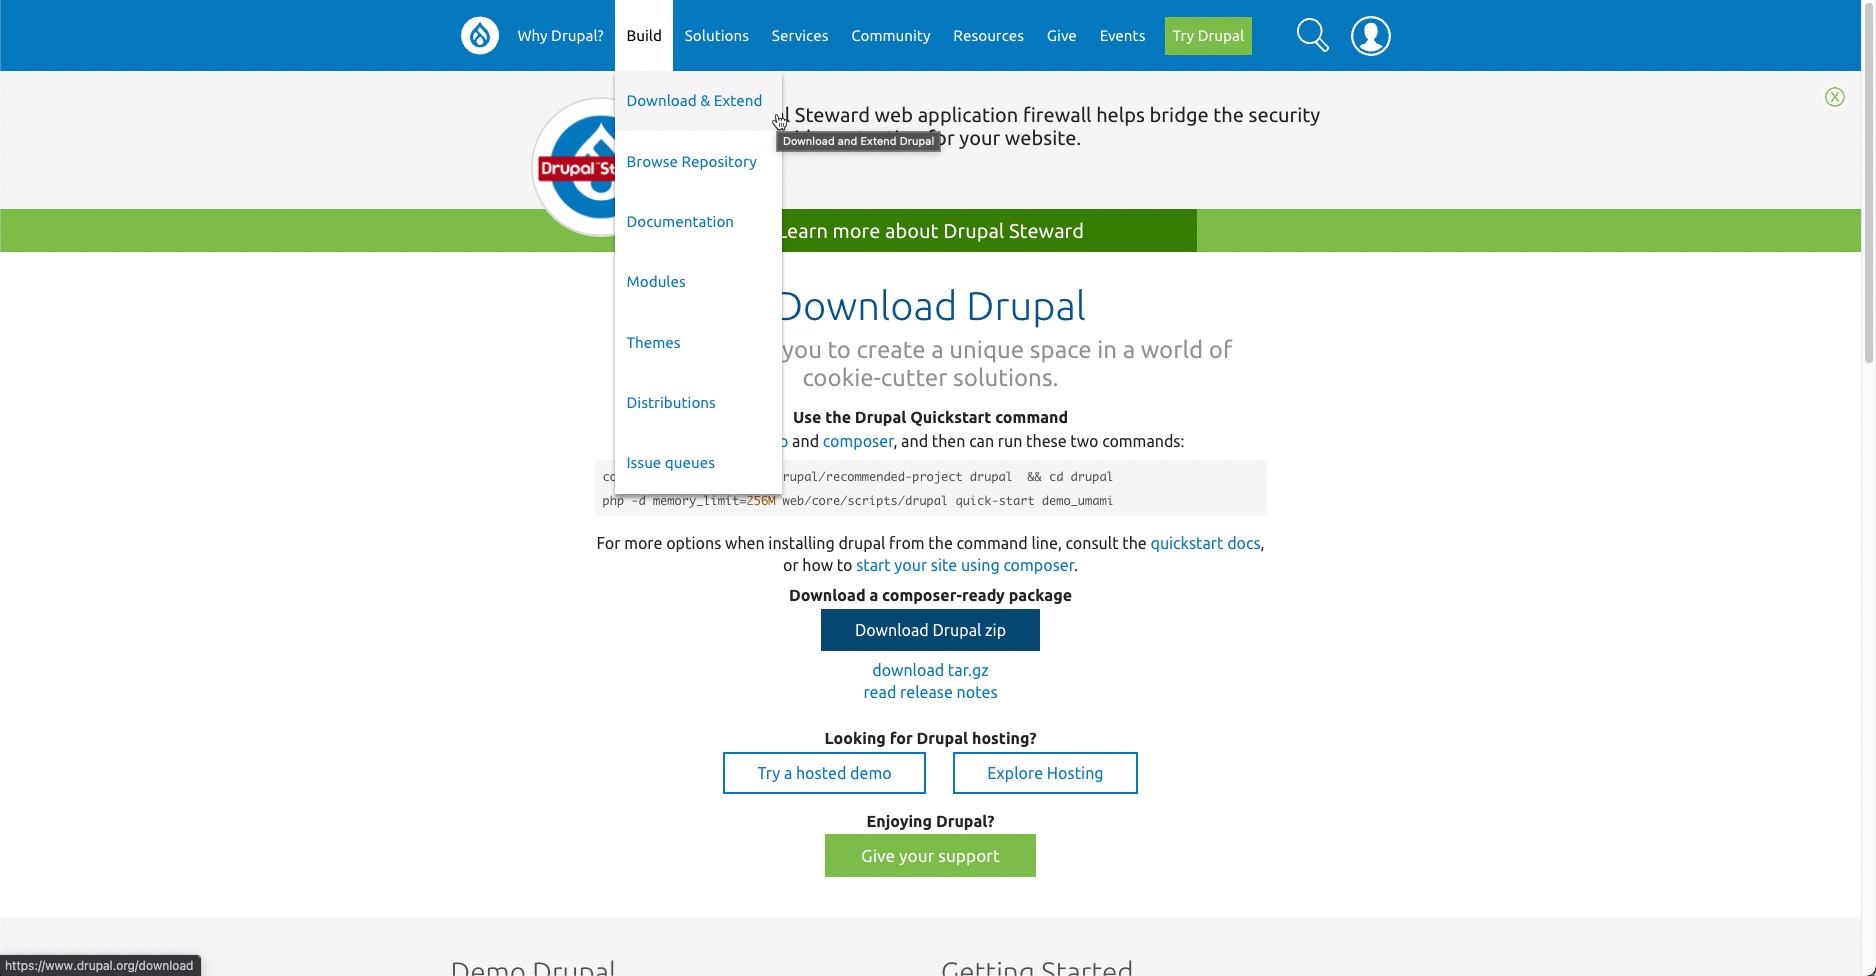
- Here you will see the download page for the Drupal files. You will be able to select if you want to download the plain zip version or the tar.gz version.
- Once you have downloaded the file, make sure to place it in the folder where you will be installing your Drupal site. If you are an InMotion customer, you can use cPanel File Manager to uncompress the file. Otherwise, you will need to unpack the files and then use a tool like an FTP client to move the files into the folder on your web server.
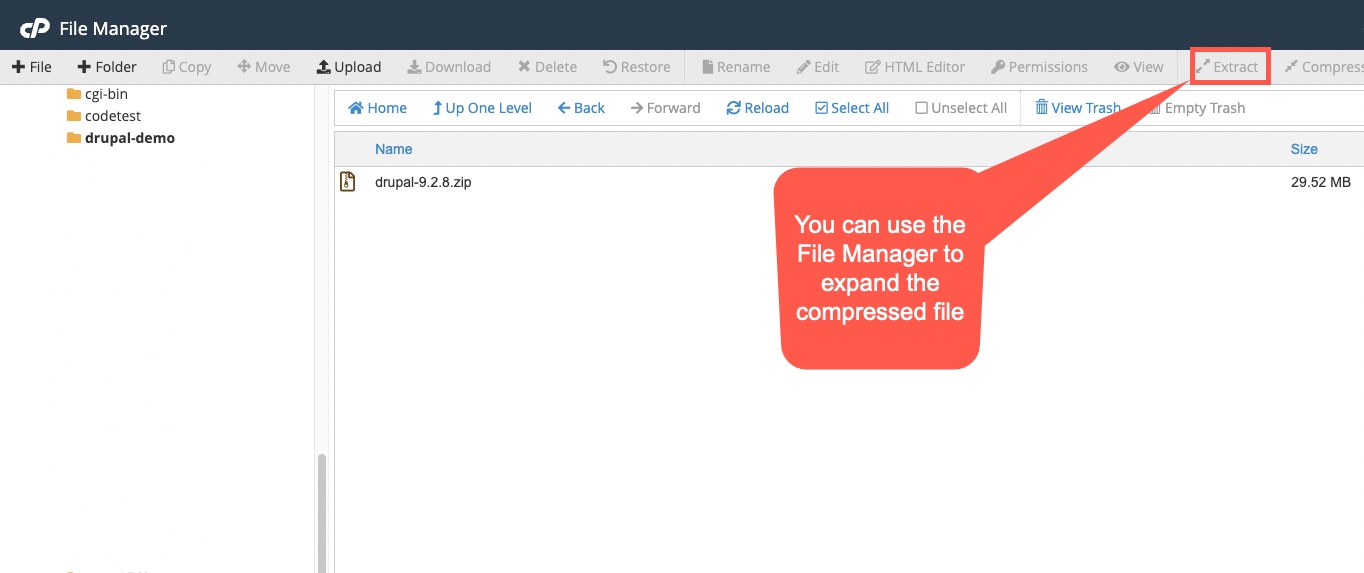
- Click on the zip file (or tar.gz file) and then select Expand in the top right corner. Make sure that the files are expanded in the folder that will be used by the website that you are setting up. If you are unfamiliar with finding the document root, then please refer to this article for more information: Find the Document Root of your Website.
- Once you have expanded the compressed file you can delete the zip (or tar.gz) file that you originally downloaded.
Set up the Drupal Database
Before you can run the installation you need to create a database. The steps below use the database interface in cPanel to prepare the database used by the installer.
- Log in to cPanel.
- Go to the Database section and select MySQL Databases.
- Type in a name for your database, then click on Create a New Database.
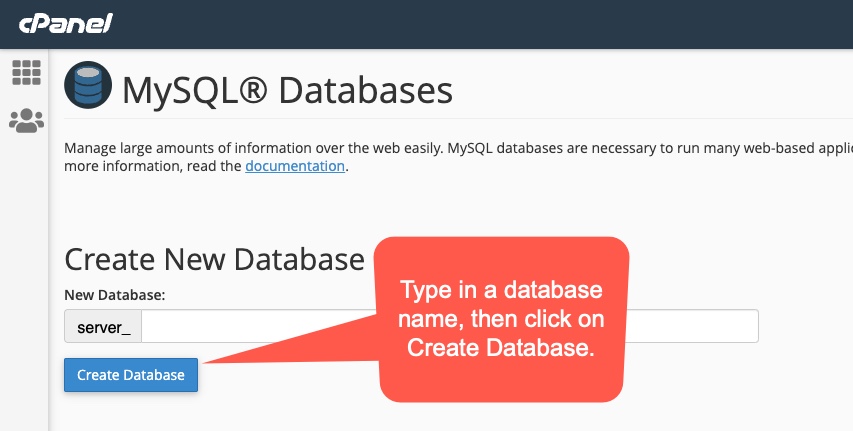
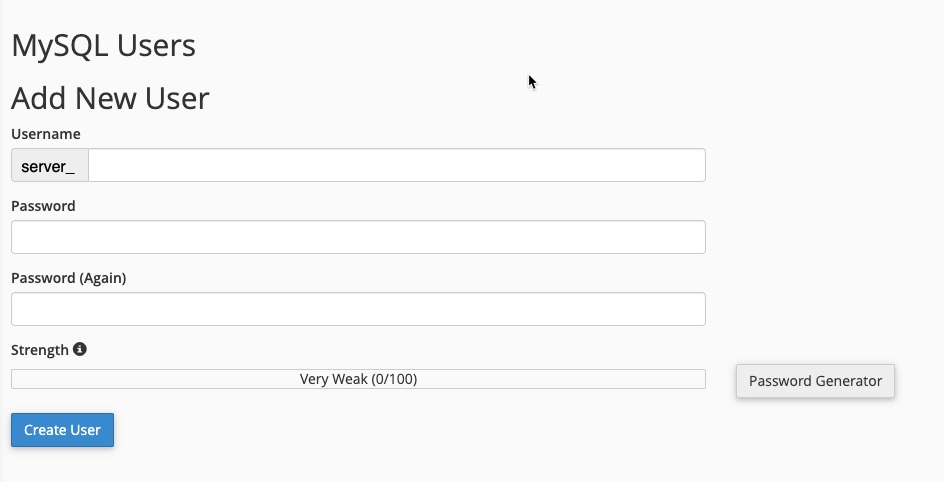
Note that the database name will start with a prefix that is typically the account name. Record the database name so that you can use it to assign the user that you create in the next step. - Next, create a database user. Make sure to note the name and password that you have created. You will need to assign the database user to the database in the next step.
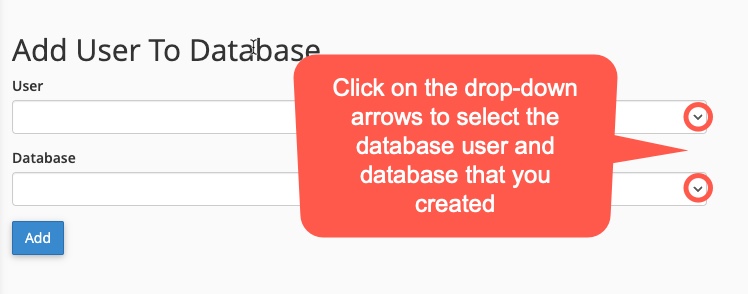
- Once you have the user created, you will need to assign it to the database you create it and assign the database privileges to the user. Click on the drop-down arrows to select the user you just created and the database that you will assign the user to. Click on the Add button once you have selected both.
- When you click on Add you will see the database privileges that can be assigned to the user. Click on All Privileges to add all of the user privileges.
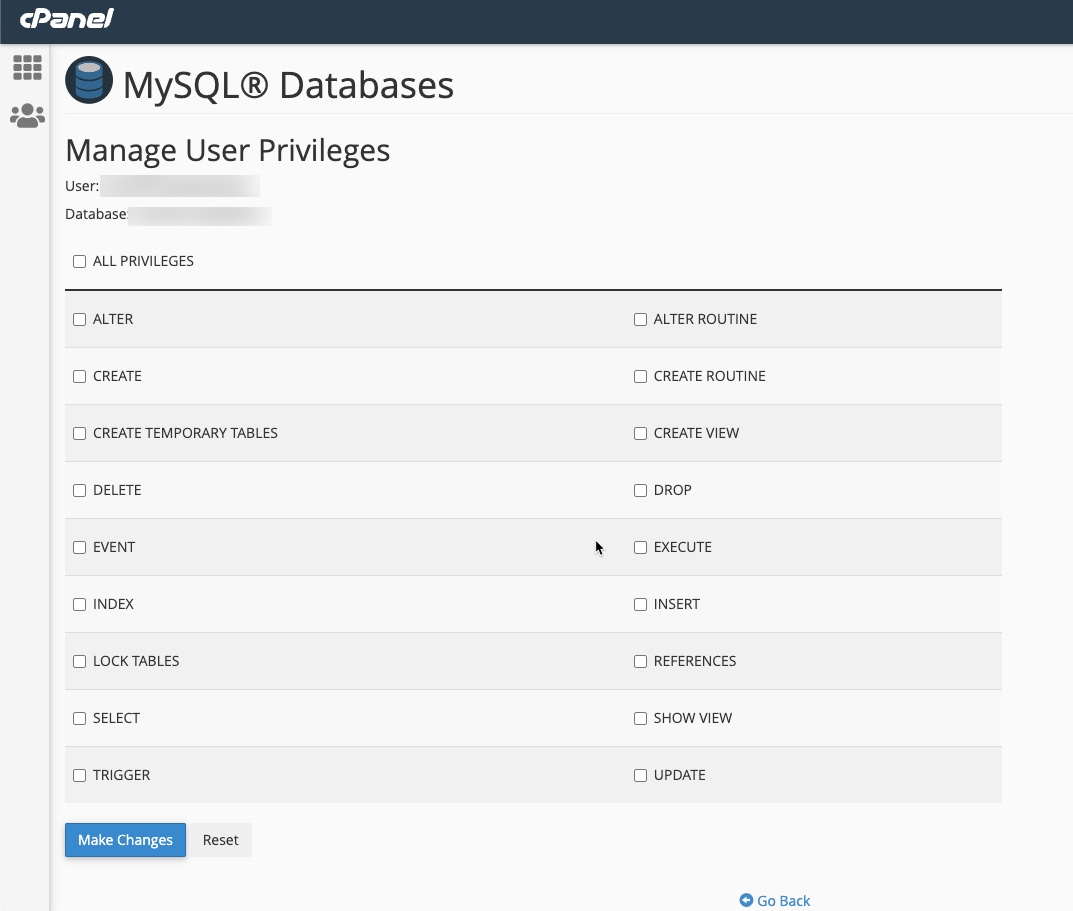
- Click on Make Changes to save the assigned privileges.
This completes the preparation of the database for your Drupal installation. Next, you will need to execute the installer from a browser.
Set Up Your Drupal Website
The final step in manually installing the core files for a Drupal website is to run the installer. When you run the installer, you will have the option to create a Standard, Minimal, or Demo site. These instructions will walk you through the setup using the Demo site option.
Note that the domain name that you are using for your Drupal site must be properly registered so that it can be recognized on the internet. This tutorial uses a browser to run the installer, so the domain name must be registered using a primary domain or addon domain assigned to an account. The installer can also run through a subdomain/subfolder.
- Open an internet browser and type in the URL for the Drupal site you are creating. This is where the installer files will be located.
- When you type in the domain name, the installer should launch. You will see the following:
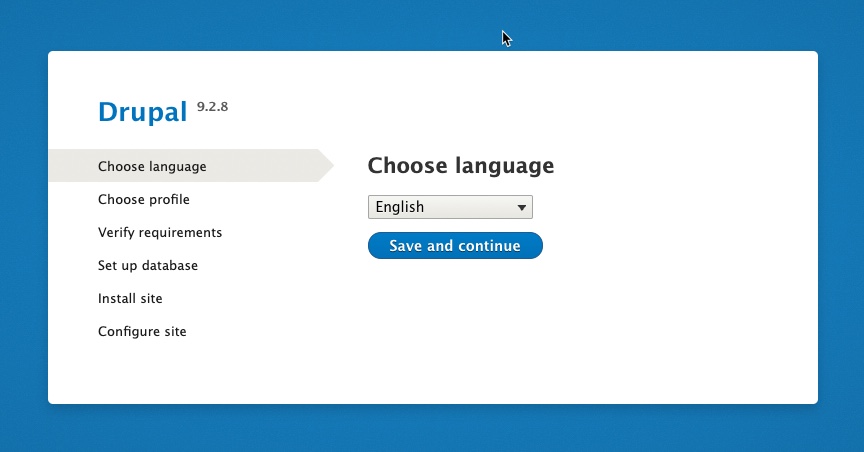
Choose the language you want to use, then click on Save and continue. - Next you will need to set up your installation profile.
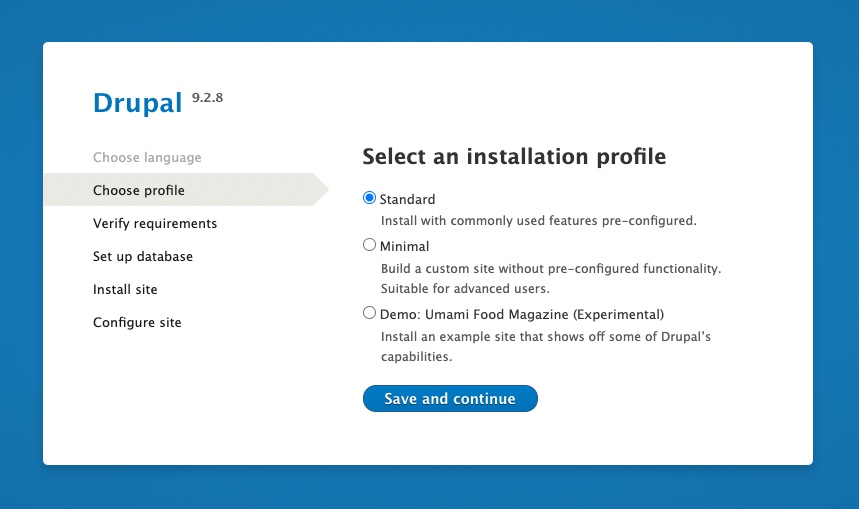
You will see 3 different options: Standard, Minimal, and Demo. This tutorial will use the demo selection. Select an option and then click on Save and continue. - The installer will automatically verify the requirements, then will bring you to the database setup screen. Here you will need to type in the database name, user, and password that you created earlier.
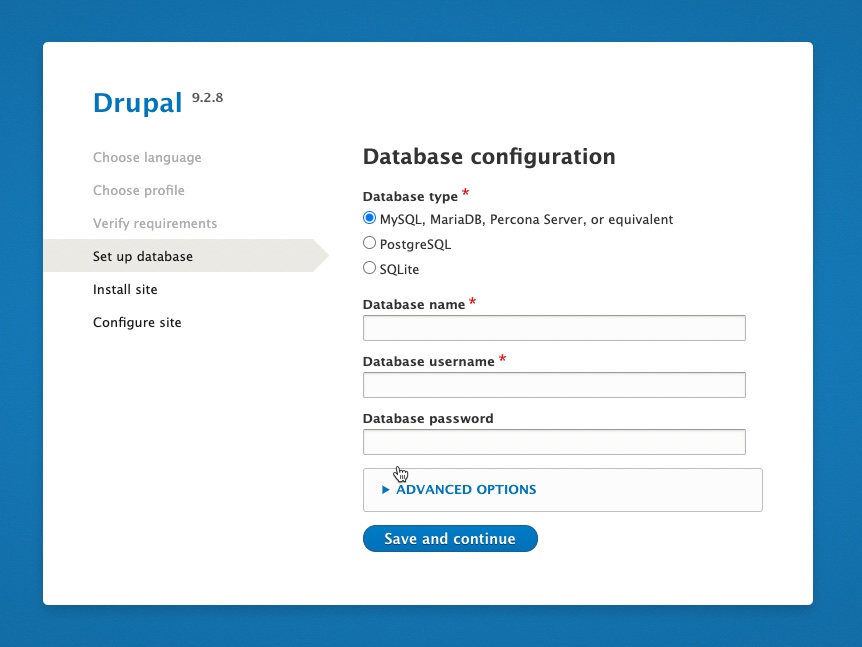
- Click on Save and continue to proceed.
- You will then see some progress screens as the installer operates.
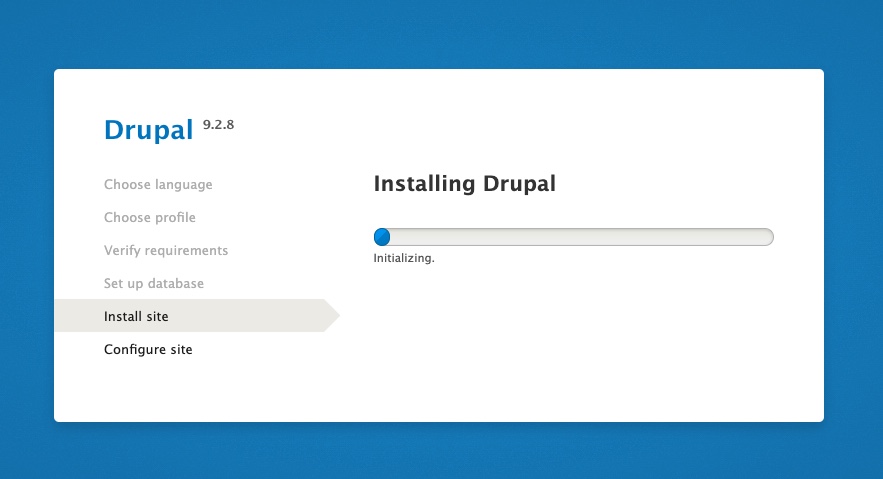
- When the installer finishes the next section it will bring you to the Configure Site screen.
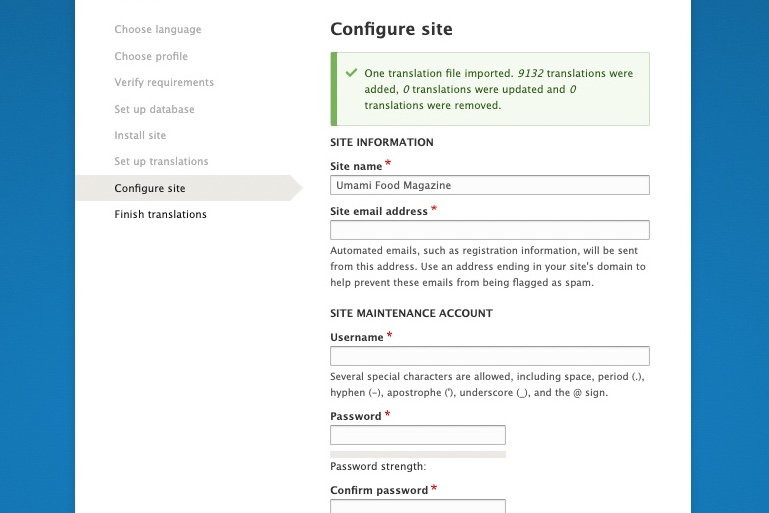
- Type in the requested information, then click on the Save and continue at the bottom of the page.
The installer will then complete the setup and then reload the page. If you selected the demo for the installation, then you will see the following appear:
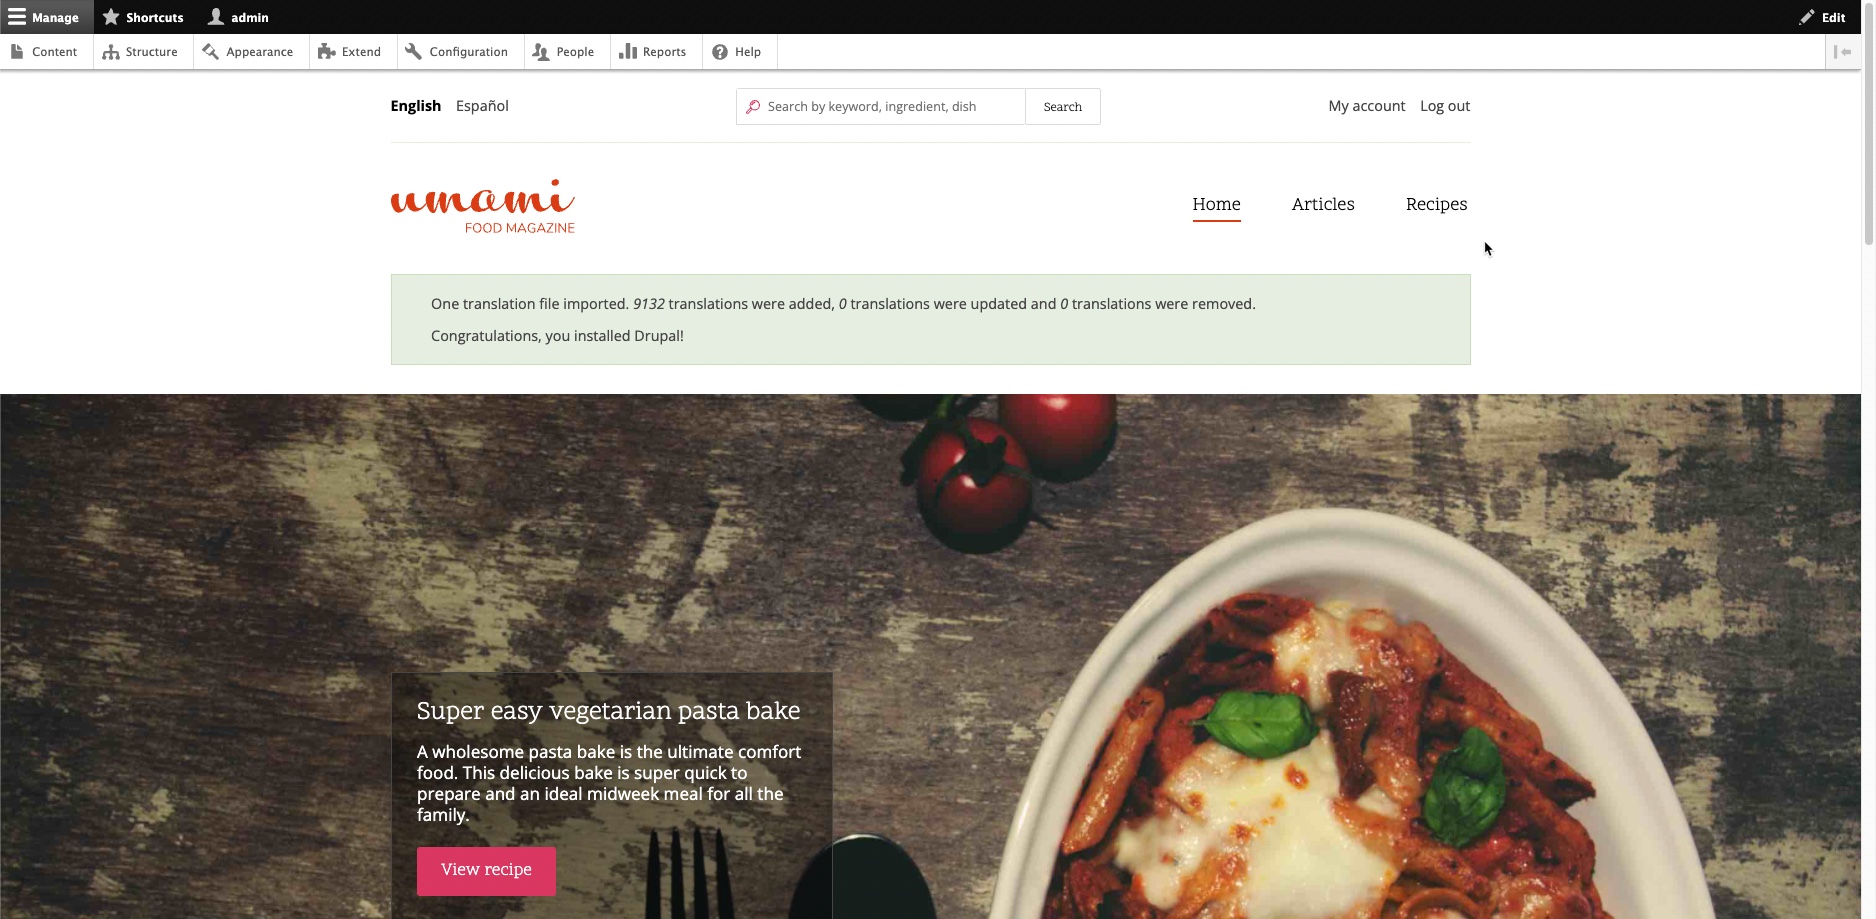
That completes the manual installation of the core files for Drupal. To learn more about using Drupal, check out our Drupal Education channel.