
Softaculous has installed a feature as of version 4.2.1 for the automatic update of certain prgrams. If you are going to use any of these programs, you can enable this option during the installation. It can also be enabled on programs you have previously installed. Below you will find the list of programs that allow this feature as well as the instructions on enabling it.
List of Softaculous programs with Auto Upgrade feature
- Adminer
- Chive
- Collabtive
- Concrete5
- DokuWiki
- Dotclear
- e107
- Elgg
- EPESI
- Form Tools
- FrontAccounting
- Group Office
- Lazarus
- Logaholic
- Monstra
- ownCloud
- phpMyAdmin
- PivotX
- PmWiki
- ProjectSend
- Prosmotube Express
- PyroCMS
- qdPM
- selfoss
- Storytlr
- TinyWebGallery
- Vanilla
- WordPress
Enabling Auto Upgrade feature for new installations
- Log into your cPanel
- Click on the Softaculous icon located in the Software/Services category.
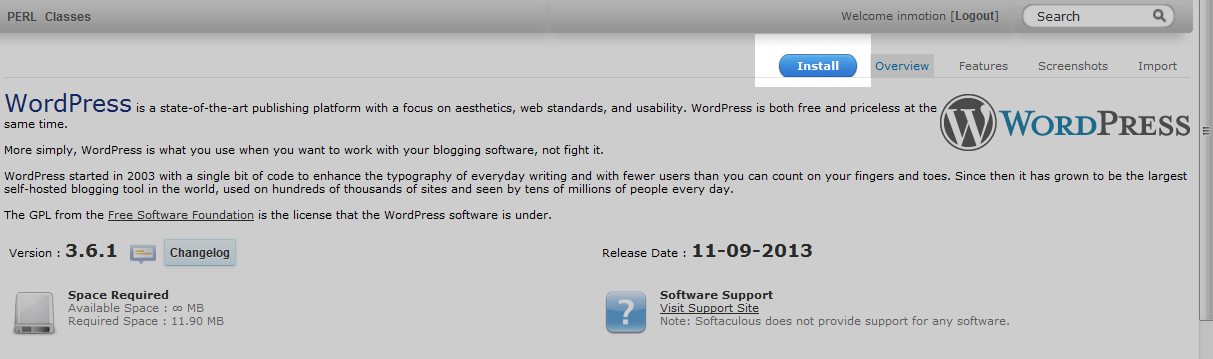
Select the program you wish to install. In this example, we will select the WordPress application.
While filling in the appropriate details for the installation, ensure you select the checkbox labeled Auto Upgrade which is located under the Advanced Options section.
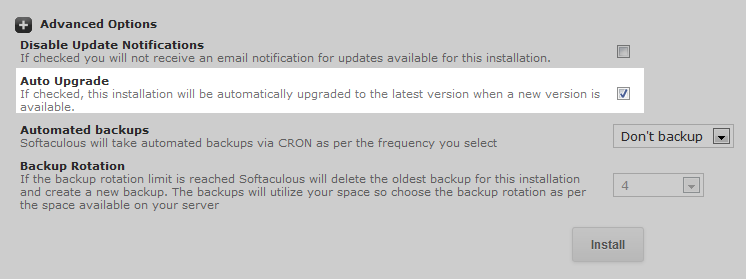
- Click on the Install button. This will install the program with the Auto Upgarde feature enabled.
Enabling Auto Upgrade feature for existing installations
- Log into your cPanel
- Locate the Software/Services category and click on the Softaculous icon.
Look to the upper right corner qnd click on the All Installations or Application Installs icon (depending on whether you are on shared or VPS/Dedicated plan).

You will see a list of currently installed applications. Find the one you want to enable the Auto Upgrade for and click on the Edit Details icon. It looks like a piece of paper with a pencil on it.

This brings you to a screen that has several settings you can change for the installation. One of them is the Auto Upgrade checkbox. Check this to enable it.
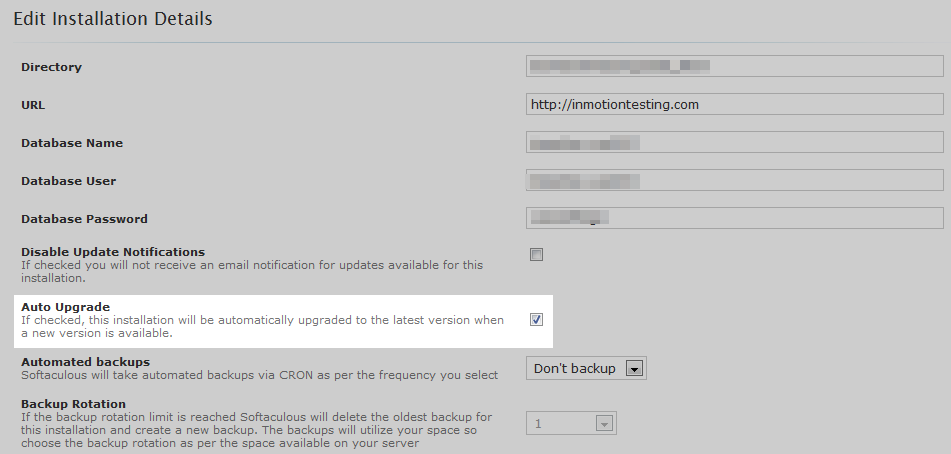
- After enabling the feature, click on the Edit Installation Details button. The feature will now be enabled.
How often will the program upgrade?
Softaculous has an automatic script, also known as a Cron job, that runs once every 24 hours. Among other things, such as automated backups (if enabled) this script runs the Auto Upgrade check so if any new updates are available, it will upgrade the program at that time.
Need More Help?
Family of Brands


