If you wish to use BoldGrid with a different domain name it will require you to install WordPress onto that domain. You will first need to register and add the domain as an addon domain. The quickest way to install WordPress is using Softaculous. The process for installing WordPress is detailed below starting with the process of adding the domain as an Addon domain in cPanel.
Adding a Domain as an Addon Domain
Before you can use a domain, it needs to be registered. If you have not registered the domain name, check out our tutorial on Registering a New Domain name. Once the domain is registered and pointing to our name servers you will be able to add the domain as an add-on domain and use it within your WordPress install process.
- Log into the cPanel
- Scroll down to the Domains section and then click on the Addon Domains icon
- Type in the new domain name.
- Type in the subdomain or user name – or leave it with the default value (your cPanel user name)
- By default, the document root for InMotion Hosting accounts is “public_html“. Addon domains are automatically added subdirectories to that folder. You are able to change that path at this point, if it is necessary. Otherwise, leave the default value.
- Type in a password for the FTP login. You can also use the Password Generator
- Click on Add Domain.
Once the add-on domain has been added, you will be able to select it in the WordPress installation. The instructions for the installation are below with the Domain selection highlighted for your convenience.
How to Use BoldGrid With a Different Domain
- Login to the cPanel.
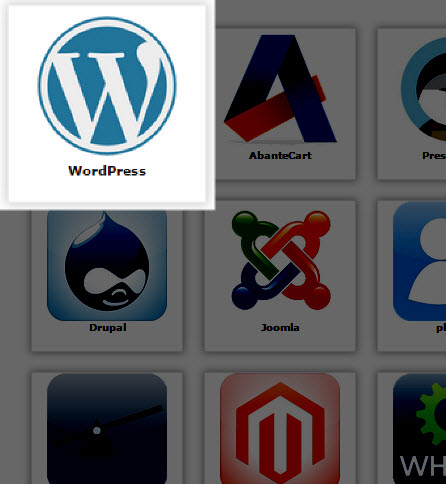
- Under the Software/Services click on the Softaculous icon.
- Find the WordPress icon, then click on the blue button labeled Install.
- Fill in the fields for your WordPress site
Required Fields for Quick Installation CHOOSE ADDON DOMAIN Click on the drop-down menu to select the add-on domain that you will use for the install. This is the point of the installation process that lets you select a different domain for your website. In Directory Leave this section blank unless you intend to install into a sub-directory under your addon domain name. Admin Username Type in the user name you wish to use for the Administrator. To help make your site secure, try not use obvious names like “Admin” or “Administrator.” Admin Password Enter the password that you wish to use for the login. For more information check out our tutorial on Password Strength and Security. Admin email Enter the email address you will use for your Admin. Make sure to replace the existing email address with a valid one that you can use to receive messages for the administrator user. Fill in the “Email installation details to:” field with a valid email address. Use this feature to keep a record of your installation details.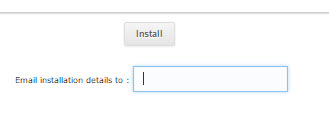
- Click on Install to setup WordPress using your Addon domain.
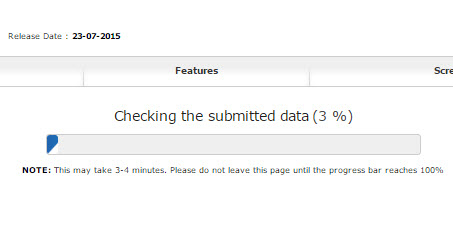
- Softaculous validates that data that you’re installing, then completes the installation for WordPress.
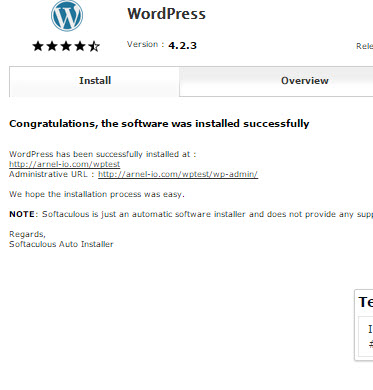
- You will see the URLs for both the Administrator dashboard and the WordPress site based on your Addon domain name. Click on links in order to verify the installations.
If you would like more information and are not an InMotion Hosting customer, you can check out the official boldgrid support site here.
I keep getting the error that it is not a valid email. It is valid
I first recommend verifying your database name in the wp-config file, then confirming the email address in the wp_users table of that database.
If you are still experiencing issues, please provide additional information such as the specific steps you are taking to get the “email is not valid” error.
Thank you,
John-Paul