Once you have Gallery from Softaculous setup you will need to add images to the application. You can also create albums to organize your images. This guide will take you through the steps to add images and albums in Gallery.
If you are trying to use Gallery for the first time and you have not yet installed it, then please see Setting Up Gallery from Softaculous for step-by-step instructions.
Launch your web presence quickly and easily with Shared Hosting. Our user-friendly hosting is perfect for everyone, providing the fastest shared hosting experience possible, all powered by cPanel.
![]() Free Domain & SSL Certificates
Free Domain & SSL Certificates ![]() Unlimited Bandwidth
Unlimited Bandwidth ![]() 400+ One-Click Applications
400+ One-Click Applications ![]() USA & European Data Centers
USA & European Data Centers
Adding Images
In order to add images or albums to Gallery, you will need to start off by logging into the application as an administrator. Supported images include (per the Imagemagick module):
- gif
- jpg
- jp2 (jpeg 2000)
- png
- tga
- tiff
- svg
- bmp
- eps
- psd
- pcd
- wmf
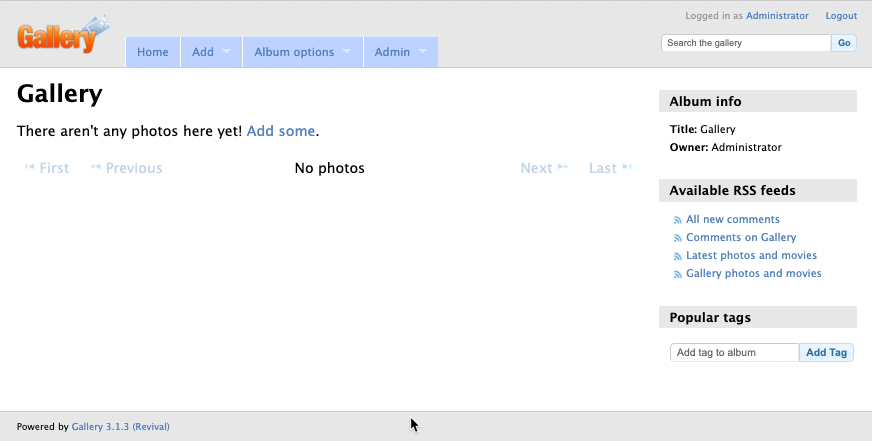
- Log in as an Administrator into Gallery.
- If you have no photos, you will see the option to add them by clicking the link labeled Add Some. You can also go to the tab labeled Add.
- If you click on Add Photos (in the Add tab), or on Add some, then you will see the dialog for adding images.
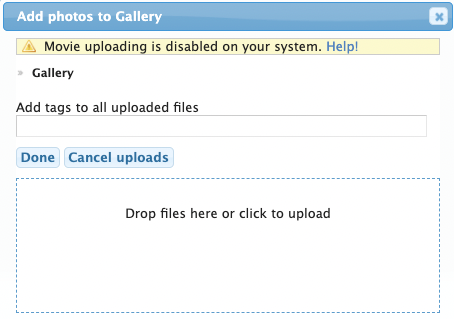
You can drag-and-drop files or click in the blank area and a file dialog will appear that allows you to choose the file or files. - Once you’re done adding your images, click on Done.
Adding Albums
- Log in to the Administrator for Gallery.
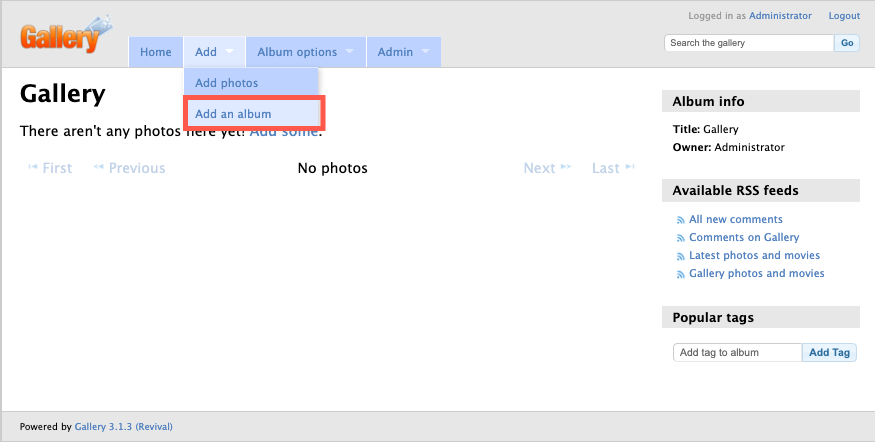
- Click on the tab labeled Add, then click on Add an Album.
- You will then see a dialog for naming the album and some other options.
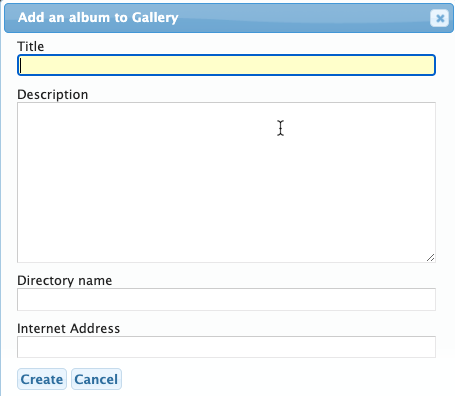
Title – the name of the album
Description – text describing the album
Directory name – a name created for the folder containing your pictures
Internet Address – the location used in the URL
NOTE: As you type in the title of the album, the directory name and internet address will automatically be filled with what you type. - Once you have the title and description typed in, click on Create.
When the album is created, you will then see the dialog options to add photos as was described in the Add Photos portion of this tutorial.
Congratulations! You now know how to add photos and create albums within Gallery. To learn more about Gallery from Softaculous make sure to see our other tutorials.