Migrating a WordPress.com site to a standalone WordPress installation hosted at InMotion Hosting is a relatively simple process. The main steps are preparing for the migration, exporting the files, and then importing the files to your new location. WordPress offers a paid option that will guide you through the process, or you can simply follow the directions below in order to accomplish the same migration task for free.
Preparing for the WordPress.com Migration
Make WordPress even easier. InMotion Hosting now offers super fast WordPress Hosting to meet all your blogging and business needs with.
If you have a WordPress.com site and you want to migrate the site onto our server with the WordPress.org version of the software, then you have several steps to complete if you intend to perform the transfer yourself. You will need to do a few things in preparation for migrating your WorPress.com site. You will need to install WordPress and the WordPress import tool in preparation for the migration from your WordPress.com site. If you have a lot of media files, then you may want to simply download your media files and then upload them separately.
Install WordPress on your InMotion server
First, you will need to install WordPress onto the domain that is hosted with InMotion Hosting. This can be done using the Softaculous installation application available within cPanel. For more information, please read our article on Installing WordPress. Also, see our WordPress Education channel to learn how to build your WordPress site on your InMotion server.
Install the WordPress Import Plugin
After you have installed WordPress on your InMotion Hosting account, you will need to install the Import tool. Follow the steps below to complete this installation.
- Login to the WordPress Administrator Dashboard
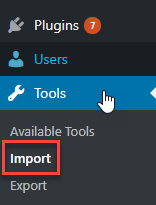 Scroll in the menu at left until you see Tools. Click on Tools, then click on Import.
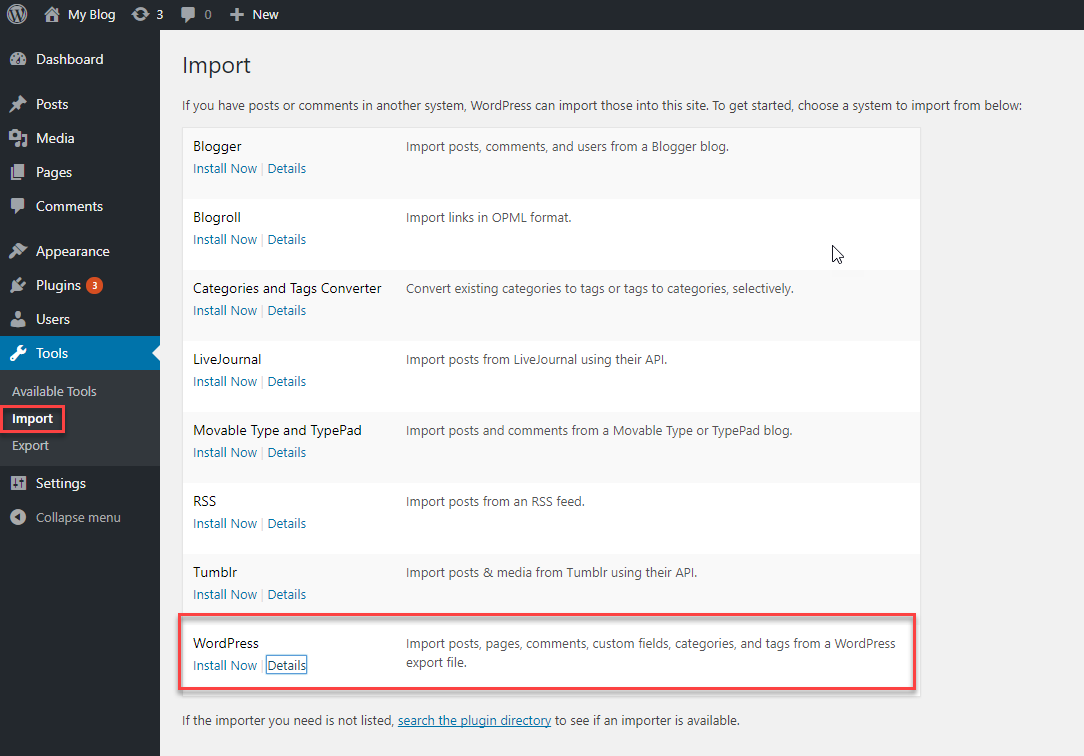 Scroll down the list of Import tools and find WordPress
 Click on Install Now.
- Click on Activate the button in order to activate the plugin.


Exporting Your WordPress.com site

The next step is to go to your WordPress.com site and export the files using the export tool. The tool is supposed to be able to export all content which includes: Posts, Pages, Order, Product, Feedback, and Media. There are cases when the media files (images, video, audio, text files saved in the media library) may not export if you select “All content.” If that is the case, then you should download the files from the media library and then upload them to the new WordPress installation’s media library. WordPress also now offers a $129 (as of the date of this article) guided transfer. If select the guided transfer option, then WordPress will help you with moving the content. This article gives instructions on how to use the free export option.
Note that there is no direct download option in the WordPress.com interface for the media files. You can go into the Media library, view the file and then right-click to save each image. However, if you wish to get the original image size and resolution of an image, or if you need to obtain a video, audio or text file saved in the Media Library, we recommend seeking out the original source of the file and saving them in a folder for the purpose of migrating them to the new location.
Using the Export Tool in WordPress.com
- Log into your Dashboard at your old WordPress.com site. If you’re not familiar with it, click on MySites in the top left corner. A menu will appear on the left. Scroll to the bottom and click on WP Admin.
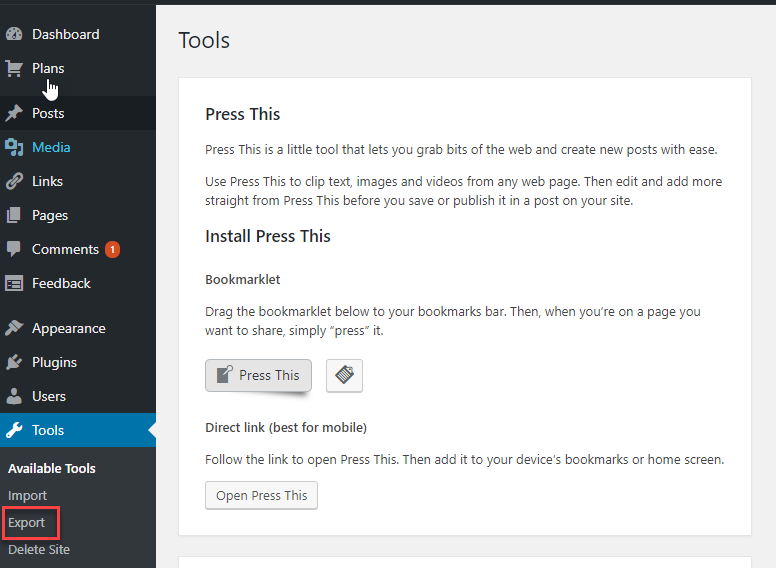 Scroll down and click on Tools in the menu at left.
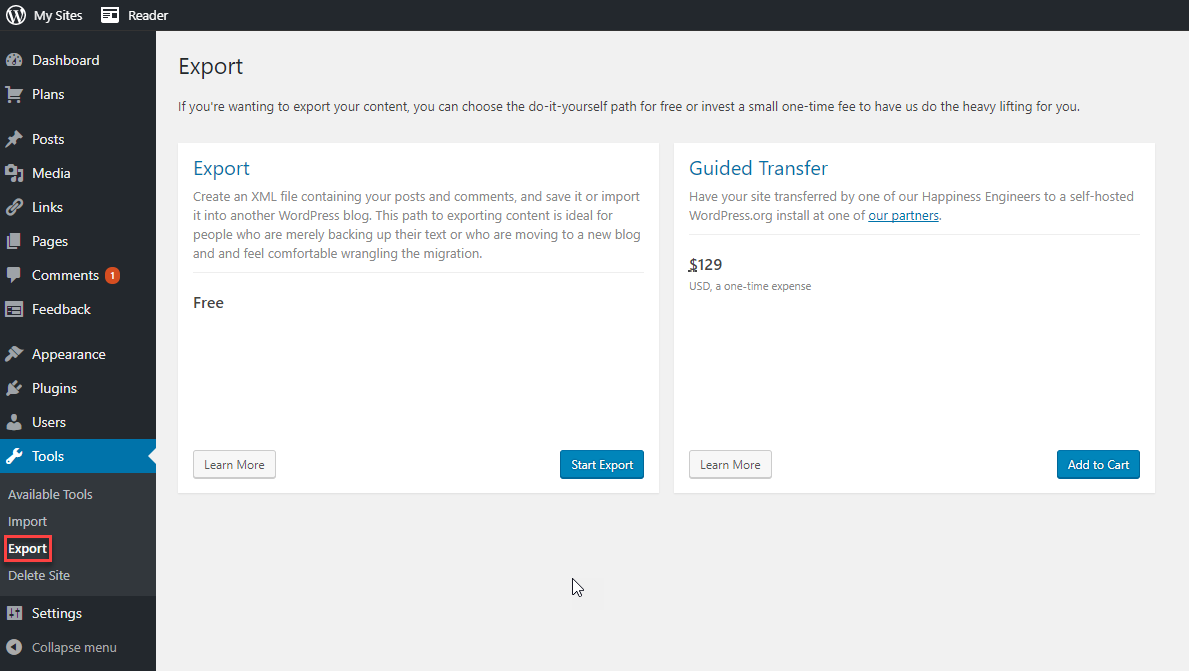 Click on Export. You will see the options for the paid export(Guided Transfer) and the Free export. We will be using the Free option in this tutorial.
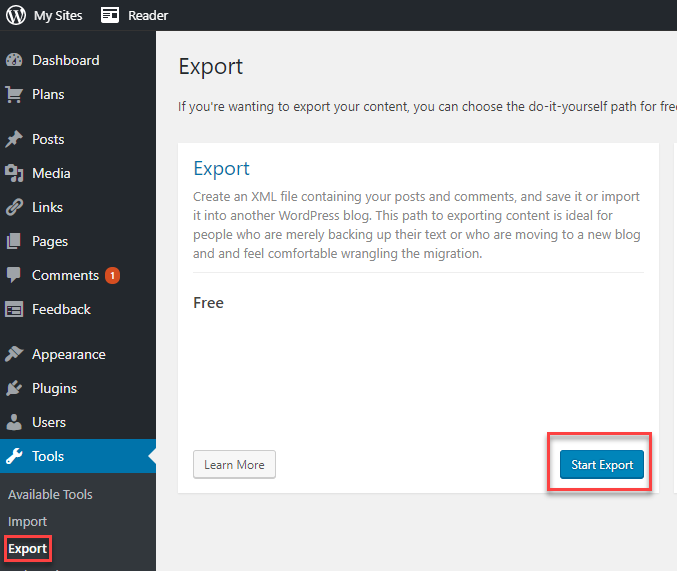 Click on Start Export.
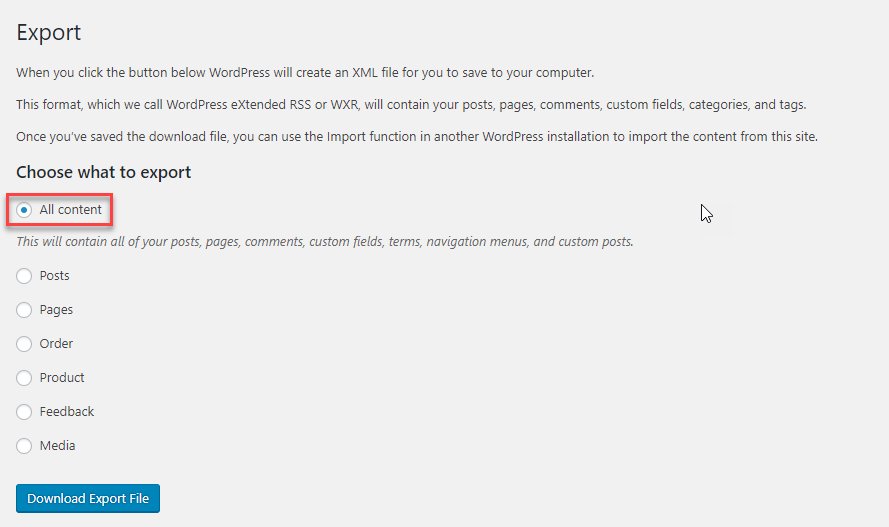 This will bring you to the Export page. Select the content you wish to export by clicking the radial button.
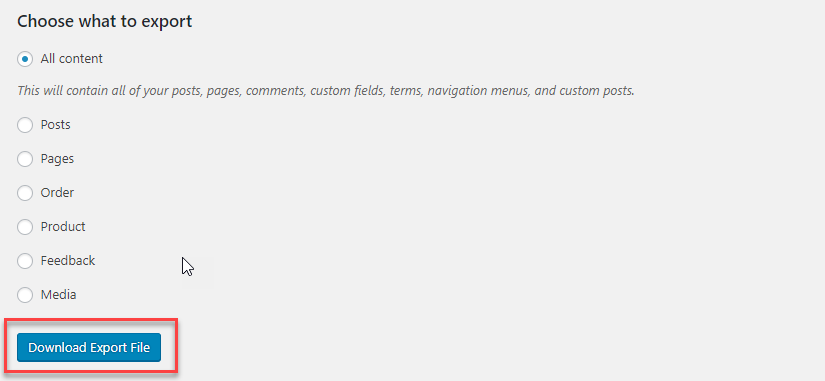 Click on Download Export File. Make sure that you know where the file is being saved as you will need it for the import process.


Completing the Migration of your WordPress site
The final steps of migrating your site include taking the exported XML file and then importing into the WordPress site at your InMotion Hosting server, changing your nameservers or pointing the domain to InMotion (if needed), and then inspecting your site to make sure that any loose ends for the migration are tied up.
Importing your XML file to your InMotion Hosting site
- Log into your Dashboard at your new WordPress.com site.
- Scroll down and click on Tools in the menu at left, then click on Import.
 Scroll down the list of the Import tools until you see WordPress. Click on Run Importer.
 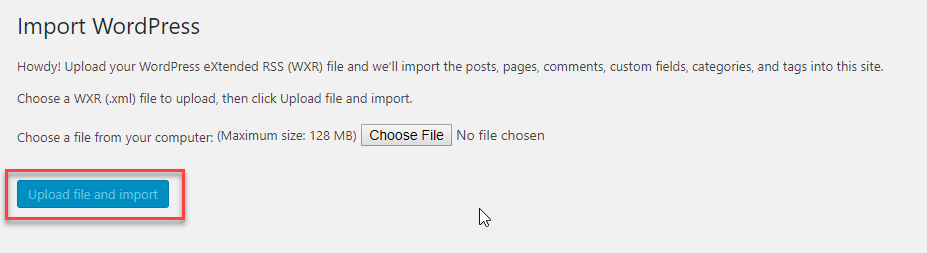 You will see the Import WordPress screen. Click on the Choose File button in order to select the XML file that you saved earlier.
 - Once you have selected the file, click on Upload file and import.


Finishing Up your Migration
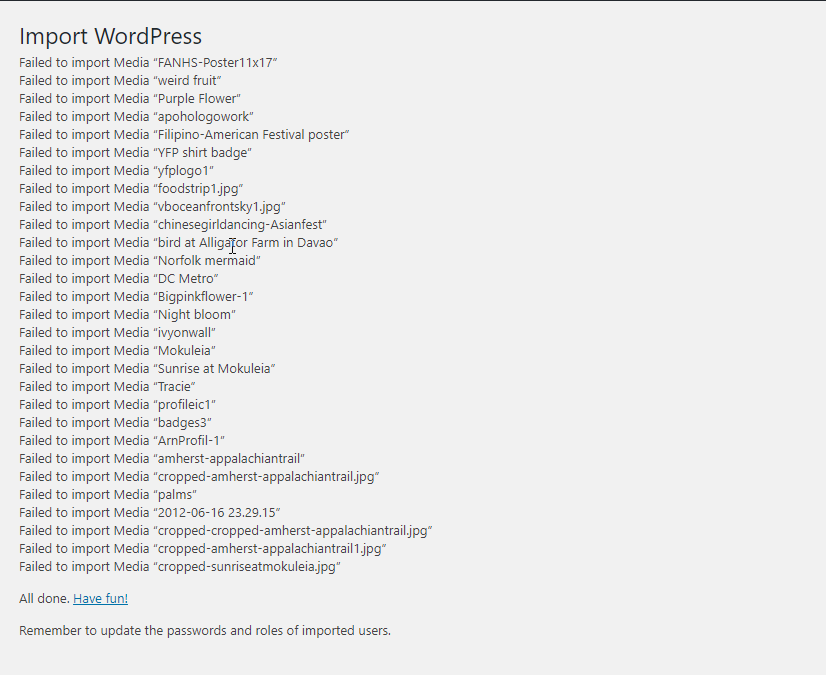
Once the import completes you will get a confirmation of the import and a reminder to update the passwords and roles of imported users. If there are errors, you will get a report showing what happened. This is an example of media files failing to export:
 As part of completing your WordPress.com migration you will need to make sure that URLs and media links are correct. Check out this article on correcting image links. If you don’t want to make changes by using MySQL queries, then you may want to check out this plugin: Better Search Replace.
If your domain name is not yet pointed to InMotion Hosting and is being used for an existing website, then make sure that all of your migration steps are completed before updating the name servers. Remember that any change of the DNS settings typically requires up to 24 hours of propagation time before the change is recognized on the internet.
Check out these other guides about WordPress migrations:
What if my wordpress.com site has a registered domain bought through wordpress? Whenever I log into what should be the “new” admin panel, it is still showing all of my “old” blog posts, etc., because the domain is still pointed there. After installing wordpress with softaculos on my cpanel, nothing seems to change. So I don’t know where to go from here.
You need to find out where the domain you’re using is pointing. If it is still pointing to WordPress, then you’re not using our hosting service when you use that domain name. In order for that domain name to be used on our service you need to change the name servers to point to our hosting server, or your need to transfer the domain name to our domain registrar. Since that domain is not under our management you need to work with your current domain registrar (WordPress) to change where it is being used.
I believe I found a type. In the section,
Importing your XML file to your InMotion Hosting site
Step 1 reads, ‘Log into your Dashboard at your old WordPress.com site.’
It should read, ‘Log into your Dashboard at your new WordPress.com site.’
David
Thanks for catching that! It’s been corrected.
Thanks for this step by step guide.