WHMCS allows you to configure social media options right from the admin area. This can be valuable if you want to manage your social media identity from the same interface you use to manage your hosting and client services.
- Login to your WHMCS Admin
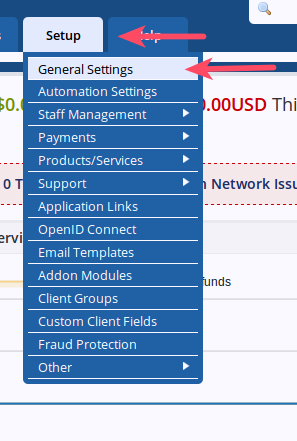
Hover over Setup and choose General Settings
Choose the Social tab
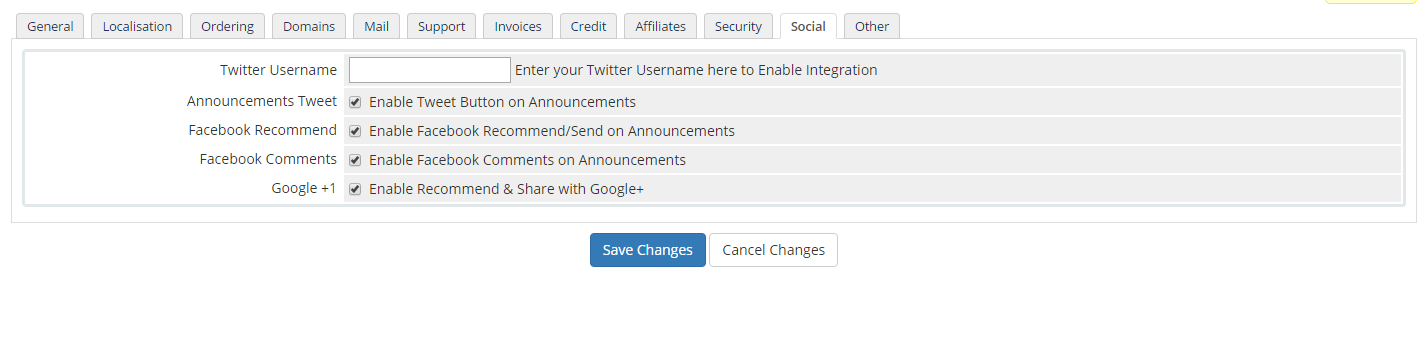
- Fill in the settings:
Twitter Username: Enter your Twitter Username here to Enable Integration Anouncements Tweet: Enable Tweet Button on Announcements Facebook Recommend: Enable Facebook Recommend/Send on Announcements Facebook Comments: Enable Facebook Comments on Announcements Google +1 : Enable Recommend & Share with Google+ 
Click Save Changes
Now that you have gone through the Social options you are ready to proceed to the Other tab.
Yes, very helpful article. Thanks for sharing.