The Invoice tab allows to configure options that your customers will face when receiving invoices. You can set up late fees, PDF delivery settings, payment gateway considerations, and some aesthetic choices including font, paper size, etc. for invoices your customers can print for their records.
- Login to your WHMCS Admin
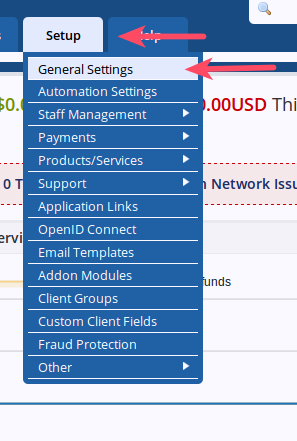
Hover over Setup and choose General Settings
Choose the Invoice tab
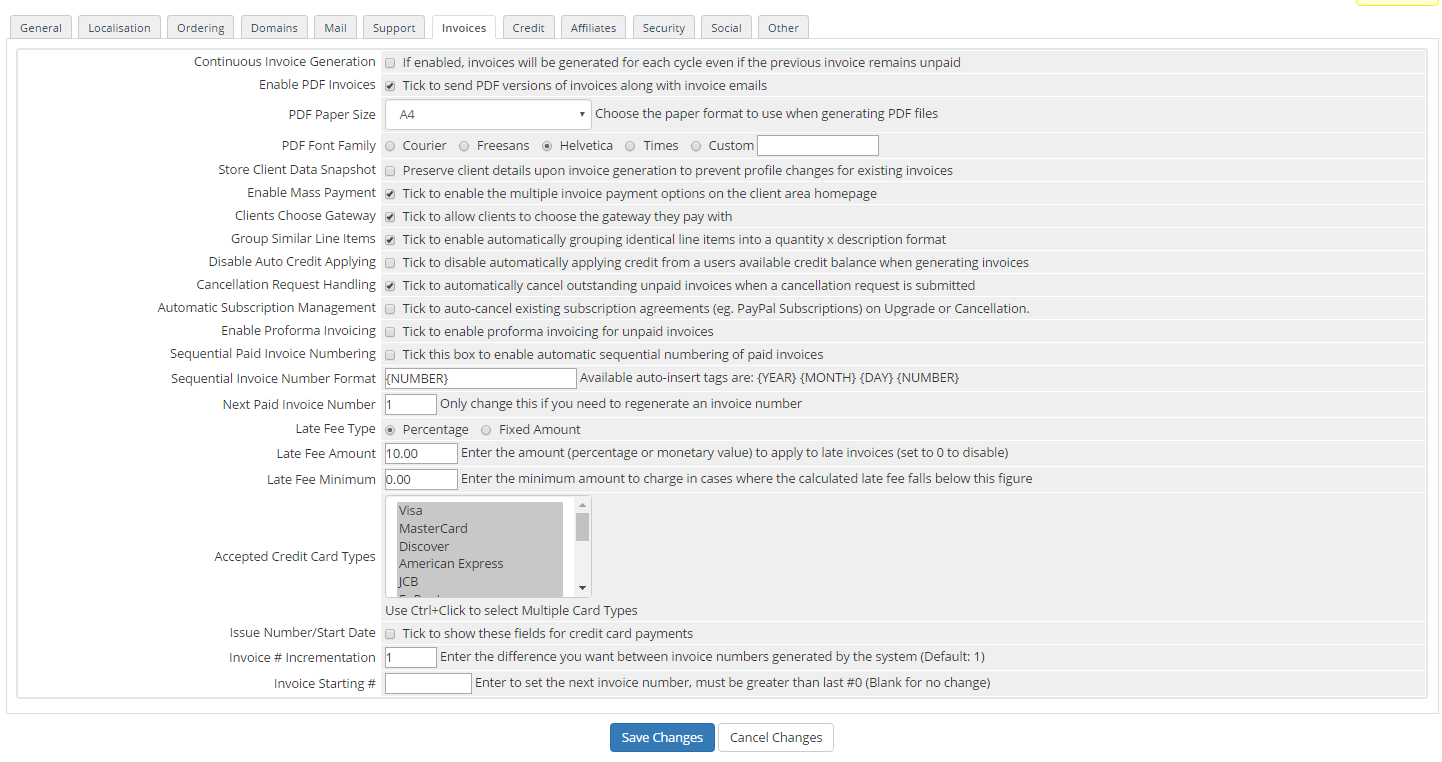
- Fill in the settings:
Continuous Invoice Generation: If enabled, invoices will be generated for each cycle even if the previous invoice remains unpaid Enable PDF Invoices: Tick to send PDF versions of invoices along with invoice emails PDF Paper Size: Choose the paper format to use when generating PDF files PDF Font Family: Choose the font you want to use for invoices Store Client Data Snapshot: Preserve client details upon invoice generation to prevent profile changes for existing invoices Enable Mass Payment: Tick to enable the multiple invoice payment options on the client area homepage Clients Choose Gateway: Tick to allow clients to choose the gateway they pay with Group Similar Line Items: Tick to enable automatically grouping identical line items into a quantity x description format Disable Auto Credit Applying: Tick to disable automatically applying credit from a users available credit balance when generating invoices Cancellation Request Handling: Tick to automatically cancel outstanding unpaid invoices when a cancellation request is submitted Automatic Subscription Management: Tick to auto-cancel existing subscription agreements (eg. PayPal Subscriptions) on Upgrade or Cancellation. Enable Proforma Invoicing: Tick to enable proforma invoicing for unpaid invoices Sequential Paid Invoice Numbering: Tick this box to enable automatic sequential numbering of paid invoices Sequential Invoice Number Format: {NUMBER} Available auto-insert tags are: {YEAR} {MONTH} {DAY} {NUMBER} Next Paid Invoice Number: Only change this if you need to regenerate an invoice number Late Fee Type: Select a late fee type Late Fee Amount: Enter the amount (percentage or monetary value) to apply to late invoices (set to 0 to disable) Late Fee Minimum: Enter the minimum amount to charge in cases where the calculated late fee falls below this figure Accepted Credit Card Types: Use Ctrl+Click to select Multiple Card Types Issue Number/Start Date: Tick to show these fields for credit card payments Invoice # Incrementation: Enter the difference you want between invoice numbers generated by the system (Default: 1) Invoice Starting #: Enter to set the next invoice number, must be greater than last #0 (Blank for no change) 
Click Save Changes
Now that you have gone through the Invoice options you are ready to proceed to the Credit tab.