WordPress is installable on any domain regardless of whether it is your primary domain or a secondary domain. With Softaculous, you can install WordPress on an addon domain in the same way that you would install WordPress on your primary domain.

Installing WordPress on an Addon Domain with Softaculous
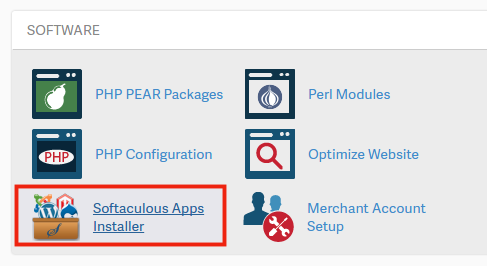
Under Software choose Softaculous.
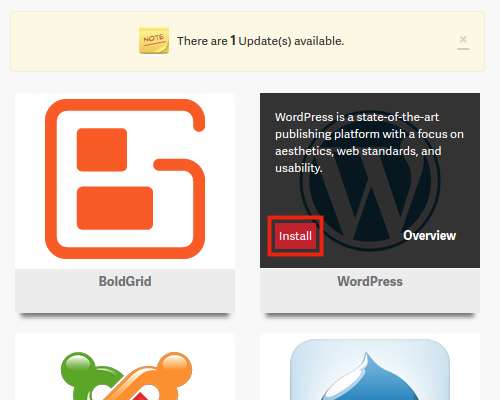
Once you are in Softaculous, choose WordPress for the install.
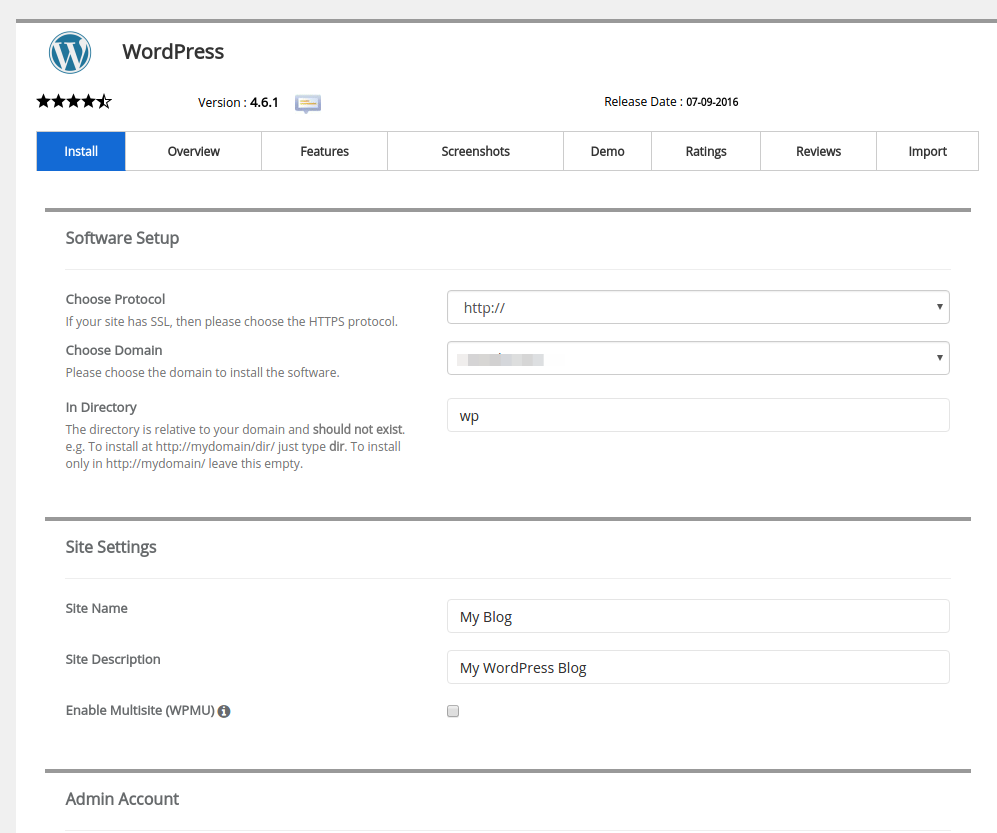
Fill in the necessary fields (see below for a summary of what these fields mean).
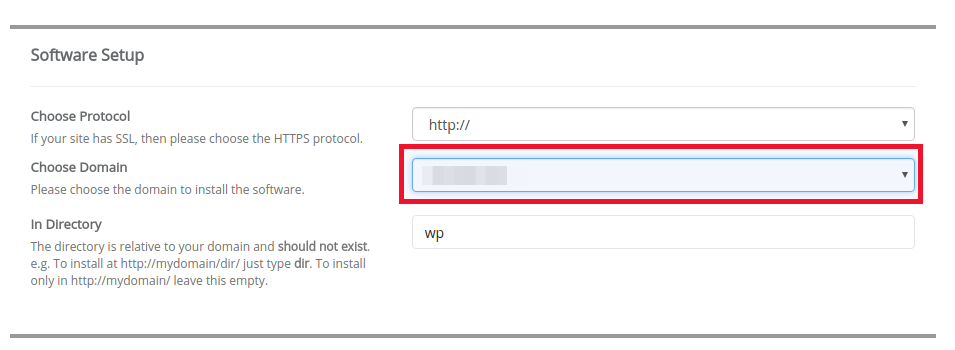
Most importantly, make sure you choose the addon domain under the Choose Domain field.

Click Install to proceed with the installation
What Do All These Fields Mean?
Below are some brief explanations of what these fields mean and what kind of options you can configure with them.
| Option | Description |
|---|---|
| Choose Protocol | Choose how you want the domain to display in the address bar, remember the https addresses require an SSL. Available options are: https://, https://www., https://, and https://www. |
| Choose Domain | Choose the domain you want to install WordPress on from the drop-down list. Your primary domain, and any addon or parked domains will be listed. |
| In Directory | Enter the directory you want to install WordPress in, if you leave this blank it will install in the public_html/name of addon domain’s directory. If you enter ‘wordpress’ here, you will access the site on: mydomain.com/wordpress |
| Database Name | Enter a name for the database that will be created here. |
| Table Prefix | You can enter text here, and it will be added to the database table names. |
| Site Name | Enter a name for your site here, this can be changed later in the WordPress Dashboard. |
| Site Description | Enter a description for your site here, this can be changed later in the WordPress Dashboard. |
| Enable Multisite | Check this box to use the multisite option in WordPress, which allows you to host multiple sites in one WordPress installation. |
| Admin Username | The default username is admin, the name you enter here will be the name you use to to login to the Administrator’s area or Dashboard for WordPress. |
| Admin Password | Create a password, this will be used to login to the Dashboard section. |
| Admin Email | Enter a valid email address, if you forget your password a email will be sent to this address in order to reset it. |
| Select Language | From the drop-down menu choose the language that you want your WordPress to be installed in. There are many popular options available. |
The final option for Email installation details to: involves entering an email address to receive a summary of the WordPress installation details. We recommend using this feature. Be sure to save the email adress for future reference.