The Statistics Software Configuration section of the WHM allows you to control the software being used to provide statistics to your users. This includes providing a status on how your server is handling the statistics generation. You can also choose to make certain statistics generators available in addition to selecting the users who can modify the software. Finally, you can schedule the configuration for the processing frequency of the generated logs. You may want configure the statistics configuration to lessen the load on your server, or make logs process with more frequency depending on your operational requirements.
Statistics Status Summary
This section will notify you if the server is having any problems with processing the statistics logs. You can also select a user to see a summary report of the reports available to them, when they were last run, and click on the details for each.
See Specific User’s Statistics Summary
- Login to the WHM
-

Click on Statistics Software Configuration in the menu at left
-
In the Statistics Status Summary box, click on the drop-arrow for “User to Display”, then select the user that you wish to view
Click on Go in order to generate the report.
Generators Configuration
- Login to the WHM
-
Click on Statistics Software Configuration in the menu at left then scroll down to the Generators Configuration section at right.
-

In the table you will see a list of the statistics generators. You can click on the check boxes to select if the stats generator can be seen by users and if they are active by default.
Click on the check box to allow the Awstats configuration file that allows a user defined configuration file to be included when the statistics are being processed
Schedule Summary
- Login to the WHM
-
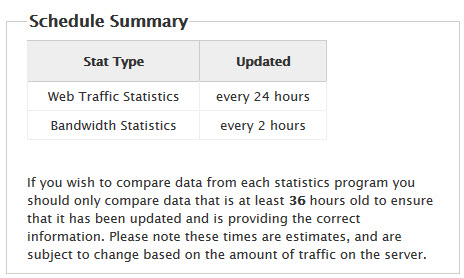
Click on Statistics Software Configuration in the menu at left and scroll down to where it says Schedule Summary. You can see the stat type and when its current frequency for updates.
Process Statistics for User
- Login to the WHM
-
Click on Statistics Software Configuration in the menu at left then scroll down until you find the section labeled Process Statistics for User.
- Click on the drop down arrow to select the user from the list.
- Once you have the name you want to use, click on Go in order to process the statistics for that user.
User Permissions
- Login to the WHM
- Click on Statistics Software Configuration in the menu at left then find the User Permissions section.
-
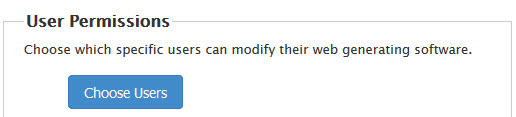
Select the users that you will allow to modify the statistics generating software they can use in cPanel.
-
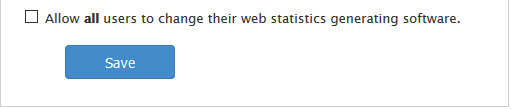
If you want to allow ALL users to be able to modify their web statistic generating software, then click on the check box next to the option.
Click on SAVE in order to save your selections.
Schedule Configuration
- Login to the WHM
Click on Statistics Software Configuration in the menu at left, then scroll down until you find Schedule Configuration
-
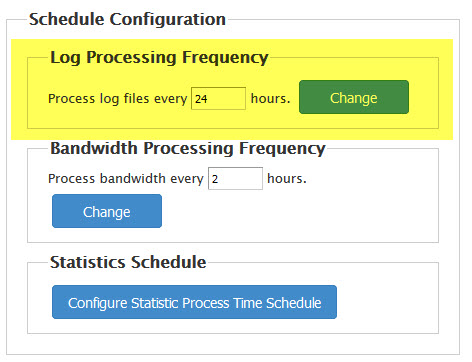
You can set the Log Processing Frequency to certain number of hours. Click in the field to change the current value, then click on Change in order to save the change.
-
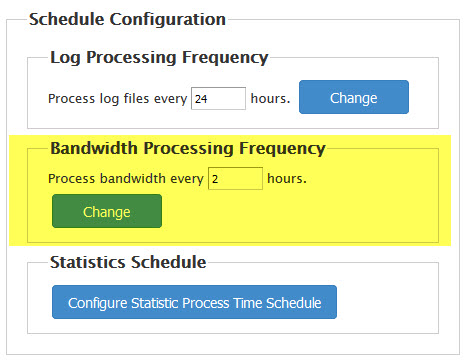
To change the Bandwidth Processing Frequency, click on the field, change it to the number of hours that you prefer, then click on Change in order to save your entry.
-

The final option that you can set in the Schedule Configuration section is the Statistics Processing times and the Additional Options where you can prevent the log processing and backups from running at the same time. Click on Configure Statistic Process Time Schedule in order to set these values.
-
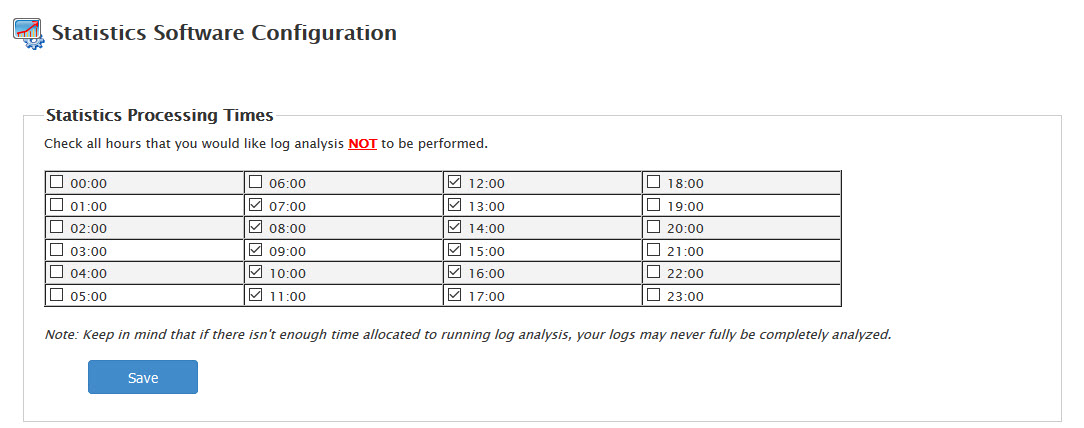
Click on the check box of the hour where log analysis will not be performed. Note the warning below the table. If there is not enough time to run the log analysis, then the logs may never be completely analyzed.
-

The final check box is to prevent log processing and backups from running at the same time. As per the warning, make sure that the set times do not overlap for backups and log processing if the box is checked. Click on the check box in order to set this option.