Adding or creating a carrier zone is another detail you will want to add after adding a shipping Carrier to your PrestaShop 1.5 store. The Zone determines which geographic location of the world the chosen Carrier will deliver your product shipment. Perhaps you have a carrier that will only deliver within North America, or both Northa America and Europe. The zone settings help determine whether the carrier can deliver to the customer’s specific location.
To set a Carrier’s Zone in PrestaShop 1.5:
- Log into your PrestaShop 1.5 dashboard
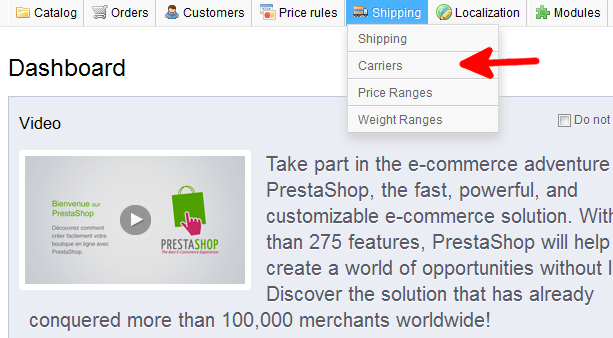
- Using the top menu bar, hover over the Shipping tab and select Carriers from the menu.
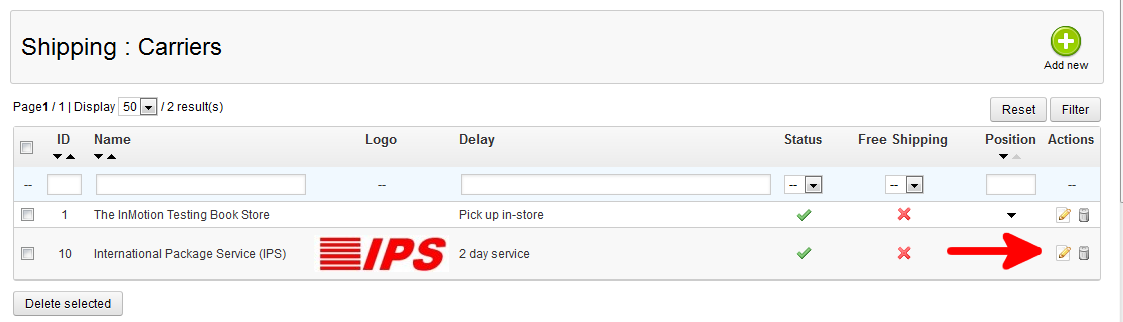
- From the Shipping : Carriers page, select the Edit icon (the one that looks like a paper and pencil) from right side of your desired carriers’ row.
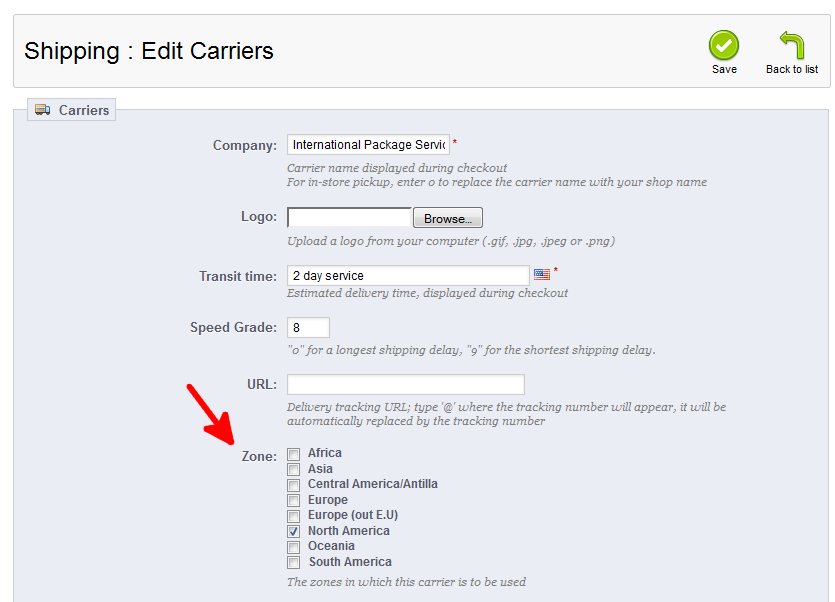
- You are now on the Shipping : Edit Carriers page. Locate the Zone area. You will want to select the checkbox next to each geographic area of the world your carrier will send your product shipment. Below is a list of the Zones available.
Africa Asia Central America/Antilla Europe Europe (out E.U.) North America Oceania South America Once you have selected all the locations your carrier will ship to, click the green Save button in the upper right hand corner.
You now know how to set the geographic delivery Zones for your Carriers in PrestaShop 1.5!


