Our last article showed you how to add a shipping carrier. This tutorial will help you when you have occasion to remove a shipping carrier from your PrestaShop 1.5 store. This is a simple process.
To remove a Shipping Carrier in PrestaShop 1.5:
- Log into your PrestaShop 1.5 dashboard
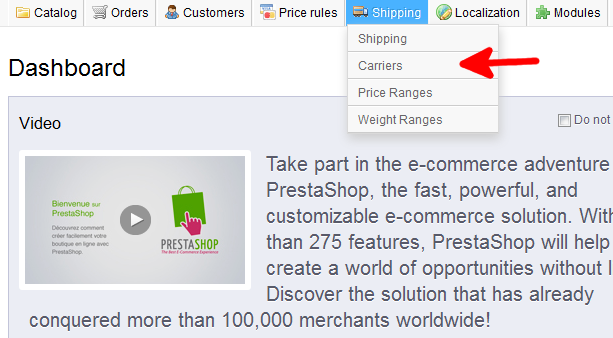
- Using the top menu bar, hover over the Shipping tab and select Carriers from the menu.
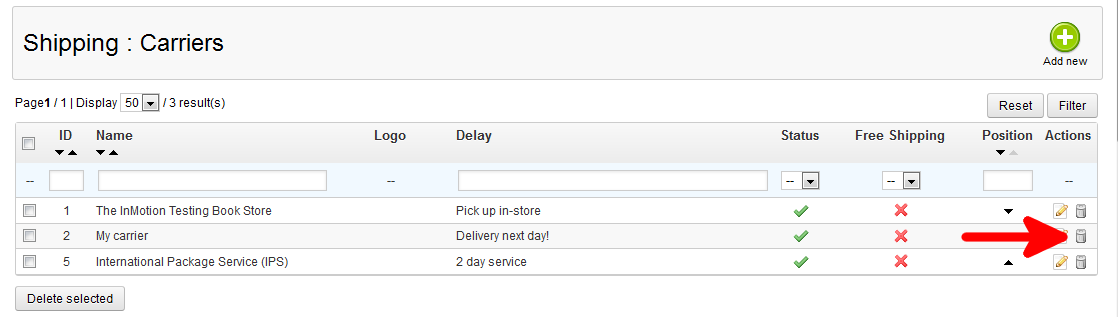
- You are now on the Shipping : Carriers list page. There are two ways to remove carriers from the list. If you are removing only one, you can find the Carrier you wish to remove and click on the Delete icon (the trashcan icon) on the far right of the row. If you are removing more than one, you can select each one by clicking on the checkbox on the right of each carrier. Then you will simply click on the Delete Selected button at the bottom. In this example, I am removing the default carrier named My Carrier, so I will use the single item removal method.
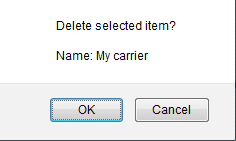
- You will receive a popup in the middle of your screen asking you to confirm the deletion. Select OK.
- Your list should no longer show the deleted carrier.
Before After 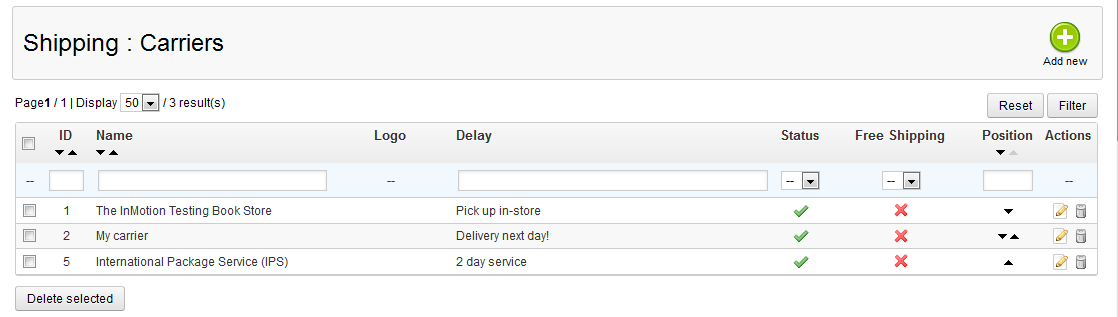

And that is how you remove a carrier from your PrestaShop 1.5 store.


