You may want to further customize your customer’s experience by adding a new gender title. Some places have specific ones, or you can add to the default list. This can be done in the PrestaShop 1.5 back office dashboard interface. Creating a new gender title in PrestaShop is very simple.
To create a new gender title in PrestaShop 1.5:
- Log into the Prestashop 1.5 admin dashboard.
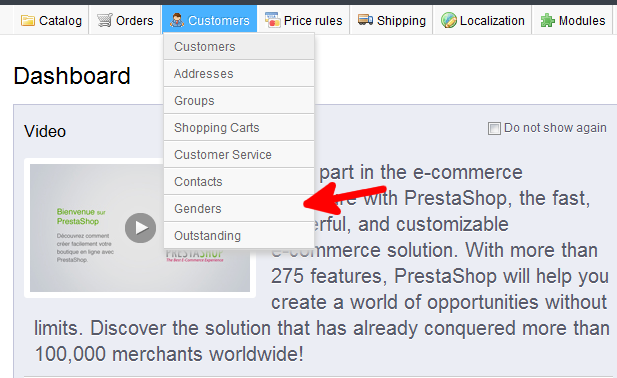
- From the top menubar, hover over the Customers tab, then click on the Genders option.
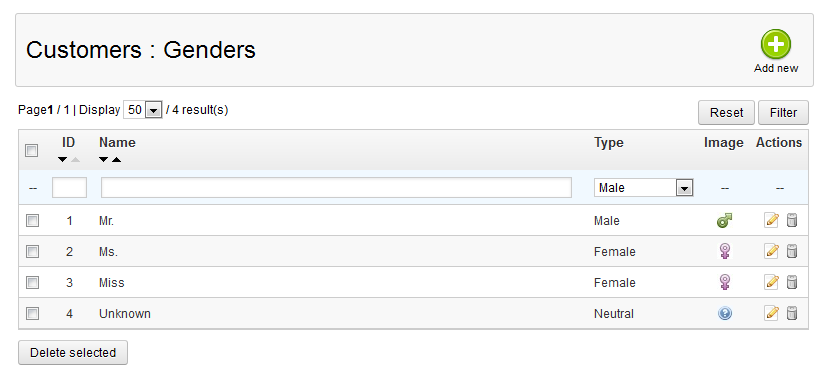
- On the Customers : Genders page, click on the green Add New button in the upper right hand corner.
- This takes you to the Customers : Add Genders page. From here, add the required information for your new gender title.
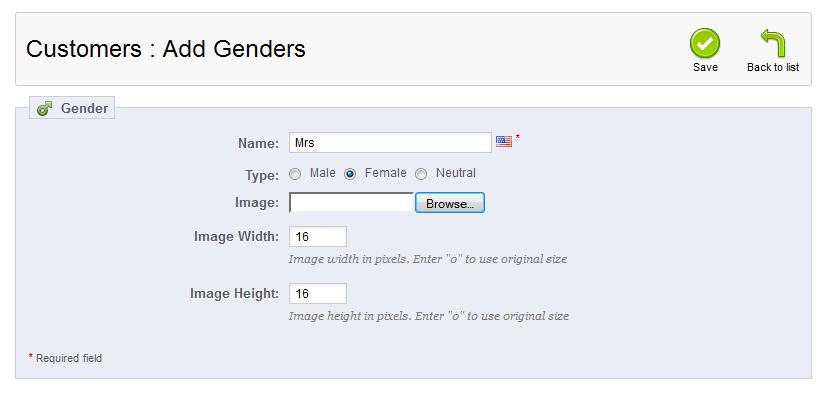
- Click on the green Save button in the upper right corner to save your new IP to the whitelist.
- The newly added gender title will now appear in the list.
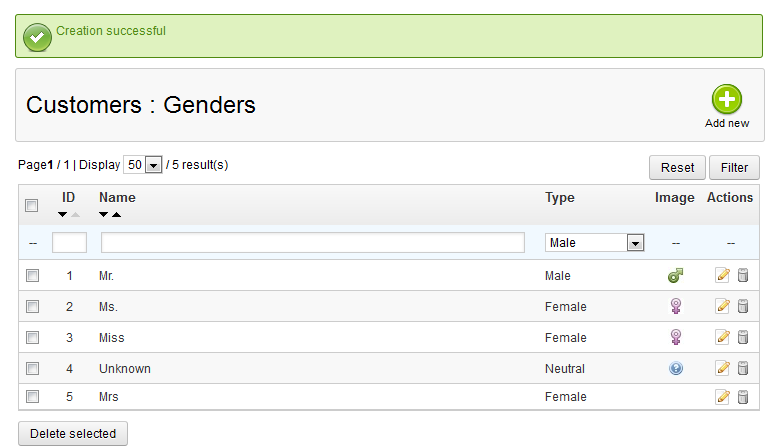


You have now successfully added a new gender title in PrestaShop 1.5.