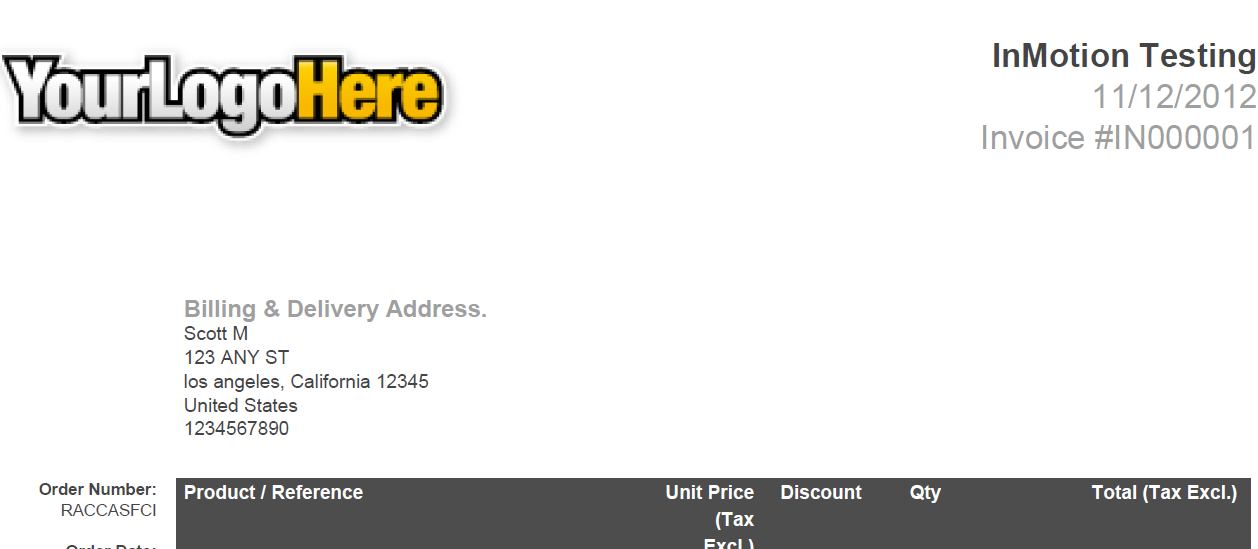
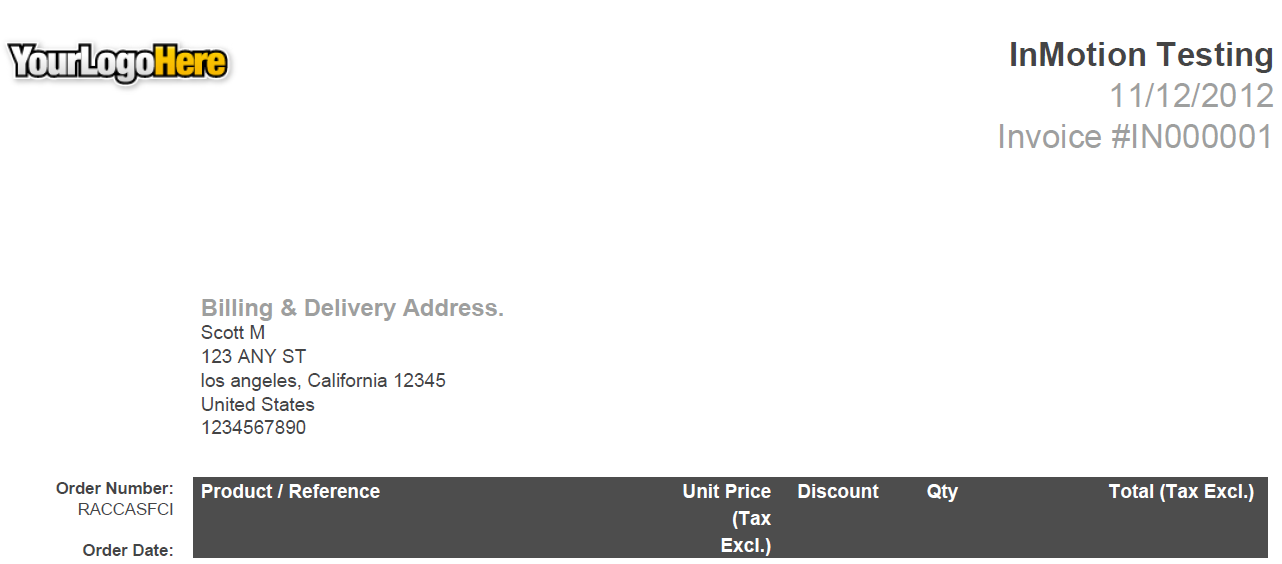
Within PrestaShop 1.5, you have the ability to view invoices. At the top of the invoice there is a header area that includes your company logo. In some cases, this logo may be uncomfortably large, meaning it takes up too much space on the page. PrestaShop has no way to directly adjust the size of the logo display in the back office,so this will require a code modification of the template. Follow along with the steps below to learn how to adjust the size of the logo display on your invoices in PrestaShop 1.5.
Although this tutorial assumes you are using a hosting account with cPanel. You may also access the files via FTP.
How to resize your logo display for invoices in PrestaShop 1.5.
- Log into your cPanel dashboard.
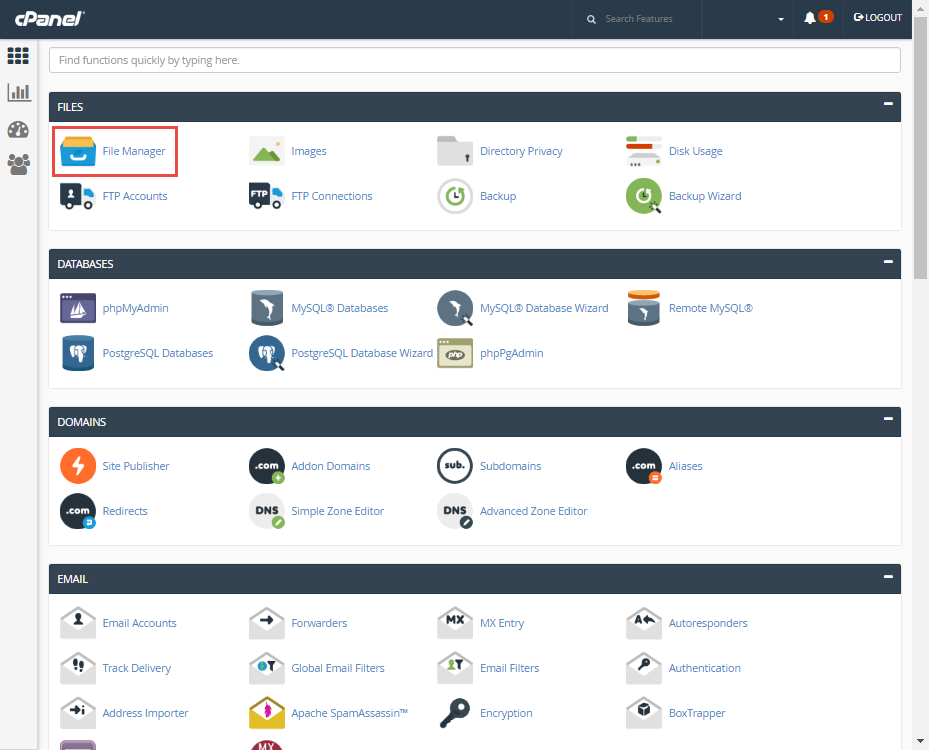
- You will notice several categories on the right hand side of the screen. Scan down the list of categories until and find the one named Files. From there, you will see an icon named File Manager. Click that icon.
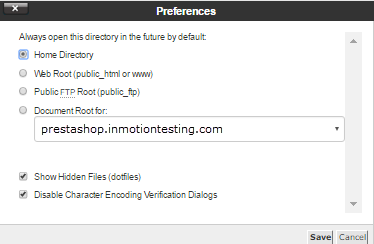
- You will be met with a pop up box to choose what folder to enter the file manager. Use the dropdown at the bottom entitled Document Root For and find the closest location for your PrestaShop store. In our example, we use the subdomain prestashop.inmotiontesting.com. Click on the Go button to continue into the File Manager.
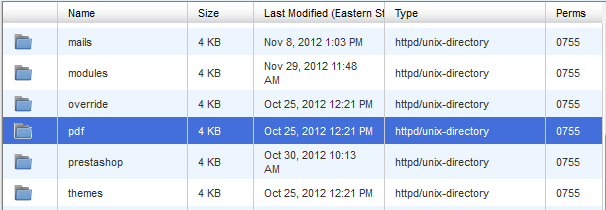
- Once in the file manager, navigate to your Prestashop store root folder if needed. If you are already there, look for the folder named pdf and double-click it to enter it.
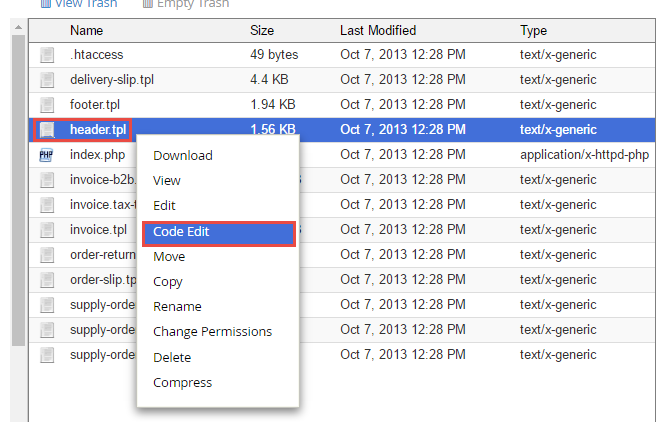
- Here you will see a list of files related to the construction of the pdf templates. Look for the header.tpl file. Highlight the folder by clicking on it once. From there, select the Code Editor tool from the row of icons at the top of the page. You can also access the editors by right-clicking on the file and selecting the editor from the menu that appears. The Edit tool will also work, but the Code Editor supplies line numbers that are useful.
- Once the file editor comes up, look for the code on or around line 30 that appears below:

- Alter the code using division “/” or multiplication “*” of the height and width parameters. For example, if you wish to make the logo half the height and width of the default, you would add code to the parameters to appear like the sample below:

You may need to test different number to find the right size for your logo.
- Once you have decided the correct size and adjusted the code, click the Save Changes button in the upper right corner of the screen. Now you can check your invoice to view the selected size of your logo. Below is a before and after screenshot to show you how our example turned out.
Before After 