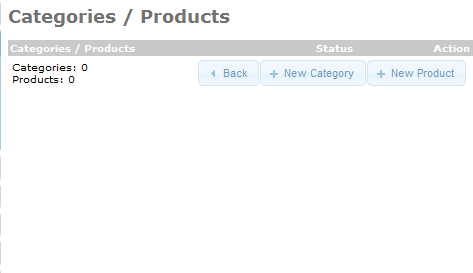
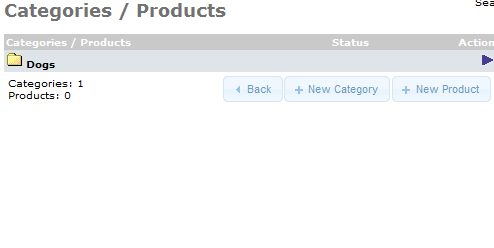
After learning to add categories for your products, you may want to further divide them into subcategories. This article will explain how to create subcategories in osCommerce via the admin interface.
Adding subcategory in osCommerce
- Log into your osCommerce admin interface.
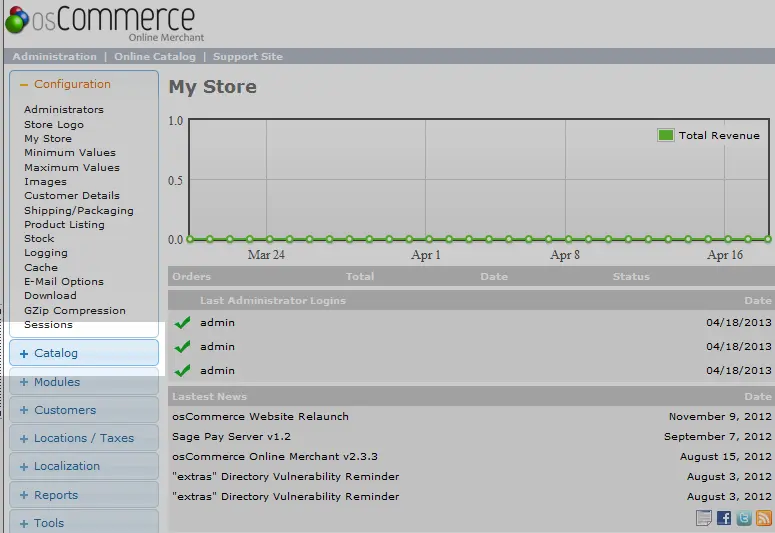
Under the left hand menu find and click the Catalog button.
- Click on the Categories/Products.
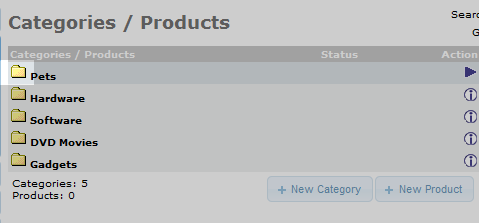
This brings you to the Categories/Products page where your categories are listed. Click on the folder icon next to the category you want to add a subcategory to. For example, we will be adding a subcategory to our Pets category which we created in our Category article.
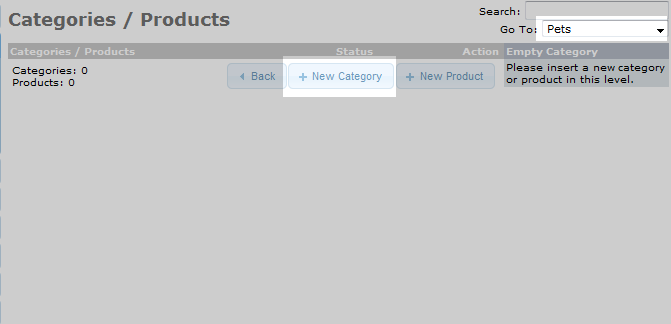
You are now on the subcategory list page for your selected category. You can check to see if you are in the right place by looking in the upper right corner for the Go To field. The name of your main category should be there. In our case, it is Pets. Once you are sure you are in the right place, click on the + New Category button to continue.
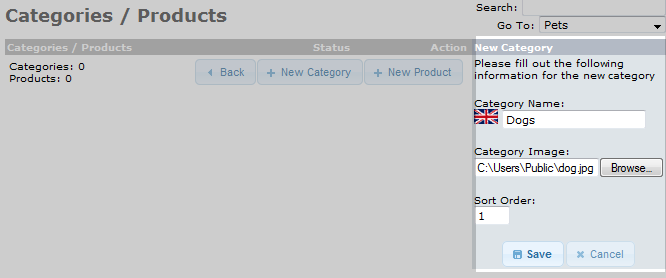
The data fields will appear on the right hand side. These are the same type of fields that appear for the main category creation.
Setting Description Category Name Name of the subcategory Category Image Uploads an image from your local computer. Sort Order Set the order you want the subcategory to display, the lower the number the higher in the list. If more than one subcategory has the same sort order, they will be ordered alphabetically. - Once the data is entered, click the Save button to save the subcategory. It will now display in the list as demonstrated below:
Before After 