One of the minor customizations we get asked about is replacing the stock Drupal favicon with a custom one. The favicon is the small icon that appears next to the site name on the browser tab. See our article here for more information on favicons and how to create one. The instructions below demonstrate how to replace this in Drupal 8.
How to Upload your custom Favicon in Drupal 8
- Log into your Drupal 8 admin interface.

Select Menu from the top menu bar.

Next, click on Appearance from the secondary menu bar.

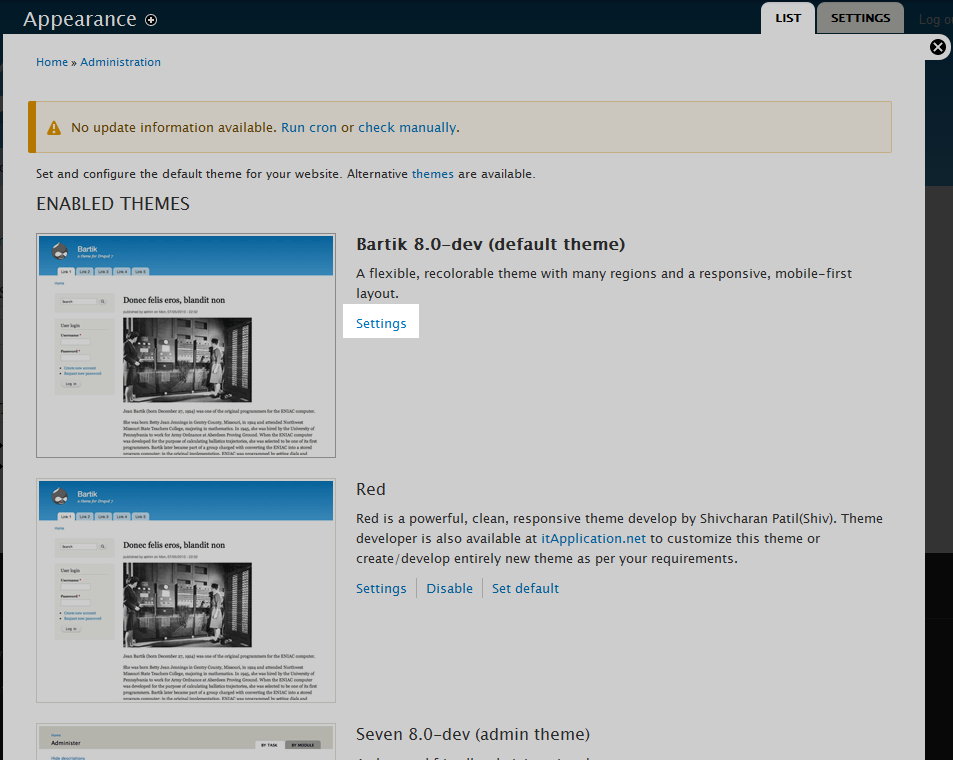
Next you will arrive at the main Appearance page. Here you will see all the available active themes listed at the top under Enabled Themes. Locate the theme you want to work with and click on the Settings link to its right. We will be using the Bartik theme in this example.

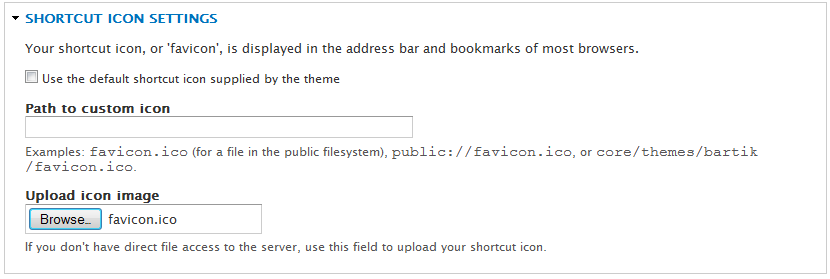
From the theme settings page, scroll down to the Shortcut Icon Settings section where you will at first see a single setting labled Use the default shortcut icon supplied by the theme. Uncheck the checkbox and two new fields will appear.
Path to custom icon the folder path to a icon that has already been uploaded. Upload icon image The Browse button to upload an icon from your local machine. We uploaded a new icon from our local machine for our example.
- After your new icon has been uploaded, click on the Save Configuration button. This will save and activate the change. Included below is a before and after comparison displaying our favicon change.
Before After 
